- ページ 6
計測機器 Cell Dynamics W8のPDF ファースト・インストール・マニュアルをオンラインで閲覧またはダウンロードできます。Cell Dynamics W8 7 ページ。 Physical cytometer
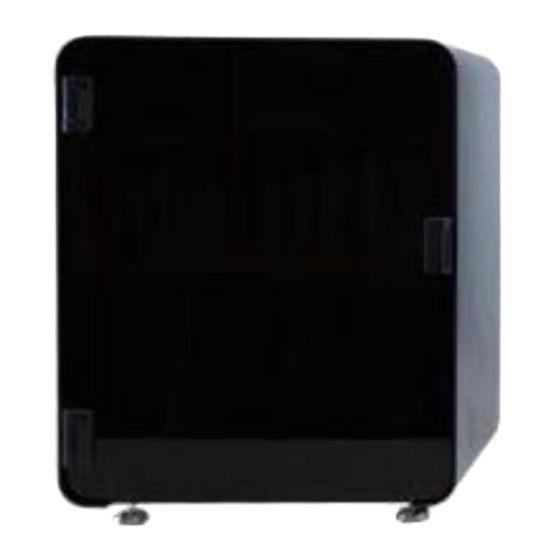
Step 2
• Connect one side of the USB 3.1 SS to the back of the instrument.
• Connect the the other side of the USB 3.1 SS to the PC (while the PC is switched off).
• Adjust the horizontal position of the instrument from the four standing legs (using the
regulation key), until the bubble level at the top panel of the instrument is centered.
• Finally, connect the power supply plug to the main power source.
Step 3
PC Requirements
The W8 Physical Cytometer uses the LIBRA software to operate.
Here the PC requirements needed:
• Processor i7 or equivalent, 16 GB RAM, SSD 256, USB 3.1 SS.
• Windows 10 (home, pro or business edition).
LIBRA software installation
• Turn on the PC.
• Open the received LIBRA.zip file and extract it. Search and double click the LIBRA.exe icon.
• A control window, with coding lines, will appear. Wait until the LIBRA launching screen is
displayed. Once installed, the software creates a new folder on the Desktop named Libra, which
contains all the folders and data related to the experiments.
Step 4
Air Filter connection
The 0.45 µm air filter is used for the air-flushing function during several procedures.
Do not use the system without the air filter.
NOTE: For proper daily use of the W8 Physical Cytometer replace the Filter once a month.
To insert a new Filter into the appropriate slot, simply screw the Luer-Lock connector (Fig. 4).
Fig. 4. Left) 0.45 µm air filter positioning. Right) 0.45 µm air filter area overview.
Step 5
Waste Bottle positioning and connection
The 250 mL Waste Bottle has the function to collect the waste liquids during each experiment.
NOTE: Remember to empty the Waste Bottle at the end of each experiment.
NOTE: Based on the used products, the liquid contained inside the Waste Bottle must be disposed
according to the specific biological waste regulations.