- ページ 7
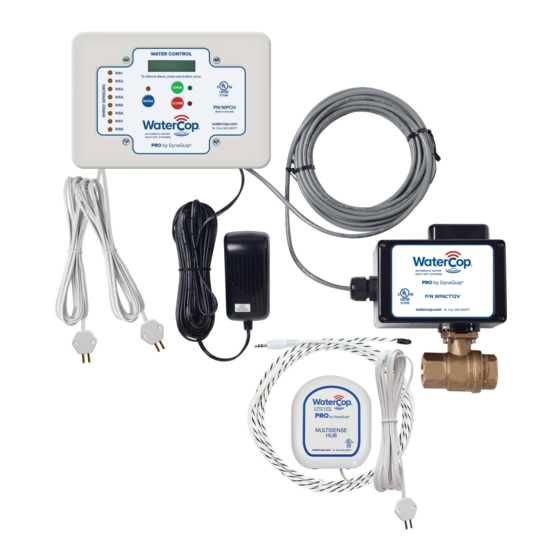
制御システム DynaQuip WaterCop Pro Outdoor WPK W SeriesのPDF オーナーズマニュアルとインストレーションマニュアルをオンラインで閲覧またはダウンロードできます。DynaQuip WaterCop Pro Outdoor WPK W Series 16 ページ。

To Power and Program Wireless Sensors
WaterCop® Pro wireless sensors are addressable . This means that the WaterCop® Pro Water
Control Panel can tell you the operational status of each wireless sensor . If you have many
wireless sensors, this feature will quickly tell you where the leak is located or warn you if a sensor
requires service (low batteries) . It is important that you introduce each wireless sensor to
the WaterCop® Pro Water Control Panel and document the sensor (the transmitter and the
sensor probe together; not just the probe) number on the transmitter. Once placed in location,
you will also note this information on the Sensor Location Log (available as a PDF file) .
Once the wireless sensors are programmed, you will be able to place them in desired locations
to monitor the property for water intrusion .
Powering Wireless Sensors
WaterCop® Pro wireless sensors require power to operate . Use either fresh AAA alkaline
batteries (not included) and/or a WaterCop® Pro Sensor AC Adapter (sold separately) to power . If
both are used, batteries will provide back-up power in the event AC power is lost . Rechargeable
batteries are not recommended . To install batteries, remove the battery cover located on
the back of the sensor, and install batteries in accordance with the (+ and -) placement guide .
Reinstall back plate .
It is important that you number each sensor (not each sensor probe) for easy identification
while programming . The WaterCop® Pro System is capable of supporting as many as 45
wireless sensors . Wireless sensors, up to 45 total, can be added in the future by repeating the
steps taken in this section . Please contact your local dealer or DynaQuip® Controls to inquire
about additional sensors .
Once each sensor is powered and numbered, you are ready to begin programming the
sensors to the WaterCop® Pro Water Control Panel .
Programming Hardwired Sensor Probes for the Hardwired Water Control Panel
•
First, while the power is off install all sensor probes .
•
Connect the power to the Water Control Panel .
•
Short each probe using a conductive metal surface until the display reads "WIREPANEL SHT"
and the corresponding light on the side of the panel lights up .
•
Repeat for all sensor probes .
Programming Wireless Sensors WPM
Plug the WaterCop® Pro Control Panel power supply into a nearby 115 VAC outlet . Depending
upon the position of the valve, the Actuator may initially turn the valve when first powered .
You can also program sensors while leaving the jumpers in instead . Unplug the Control Panel
before removing them and wiring in the Pro Actuator .
BE EXTREMELY CAREFUL TO KEEP FINGERS AND OTHER ITEMS OUT OF THE VALVE.
The display will read WaterCop® NORMAL .
•
To add sensor #1, Press MODE twice (DEVICE ADD will display on the LCD) .
•
Press CLOSE once (DEV #1 ID= will display on the LCD) .
•
Press and hold the LEARN button inside the WPM . The sensor will beep and the LCD will
display SEN #1 SHORT 2, then release the LEARN button and LCD will display DEVICE
STATUS SEN #1 OK!
•
To add sensors #2 through #45: If time has passed, the Water Control Panel LCD will revert
to ready mode displaying WaterCop® NORMAL . To add more sensors, you will need to
return to program mode and repeat steps used to add sensor #1 .
•
Repeat above steps for all of your wireless sensors, taking care to program them in the same
order as labeled . When finished, Press MODE three times to return to the NORMAL mode .
7
