- ページ 2
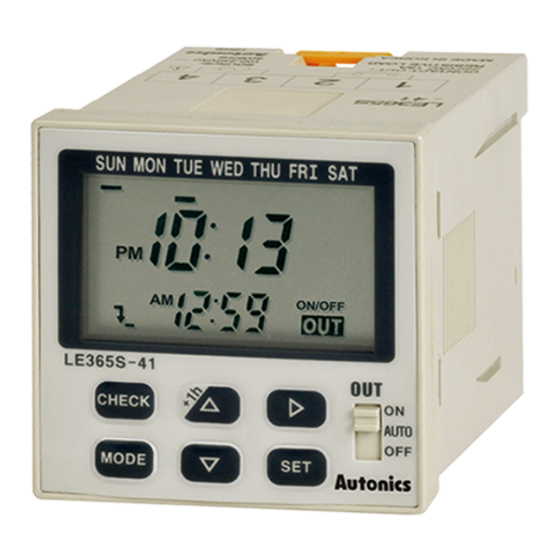
タイマー Autonics LE365S-41のPDF 取り付けをオンラインで閲覧またはダウンロードできます。Autonics LE365S-41 11 ページ。 W48×h48mm, weekly/yearly timer
Autonics LE365S-41 にも: マニュアル (12 ページ)

LE365S-41
Dimensions & Mounting
1) Front panel mounting
48
2) Surface mounting
16
42.7
3) DIN Rail mounting
48
43
How to switch from the fl ush mounting to surface or DIN rail mounting type
Remove terminals from the body after unscrewing terminals screws, and then assemble terminals to the body after
rotating terminals as shown below.
① Unscrew 1 bolts
from terminal block
(Front panel mounting)
K-88
6.8
60
6
66
※ To raise panel holder,
tools must be used.
(Surface mounting type)
● Panel cut-out
Min. 65
● Panel hole cut-out
Panel
3
DIN rail
② Detach the terminal
block after unscrew
terminal screws with
tools.
⑤ Screw terminals block
with a fi xing bolt.
(DIN rail type)
Min. 55
45
+0.6
0
45
+0.6
0
2-M3 TAP
※ Fix the Weekly/Yearly
timer on the panel with
M3 tapping screws.
(unit: mm)
③ Detach terminal
block from
case and rotate
it 180˚degree.
④ Assemble case
and terminal
block
