- ページ 6
ウォーターヒーター iHeat AGL-5のPDF 操作マニュアルをオンラインで閲覧またはダウンロードできます。iHeat AGL-5 9 ページ。 5 liter lpg gas tankless water heater, c amper series

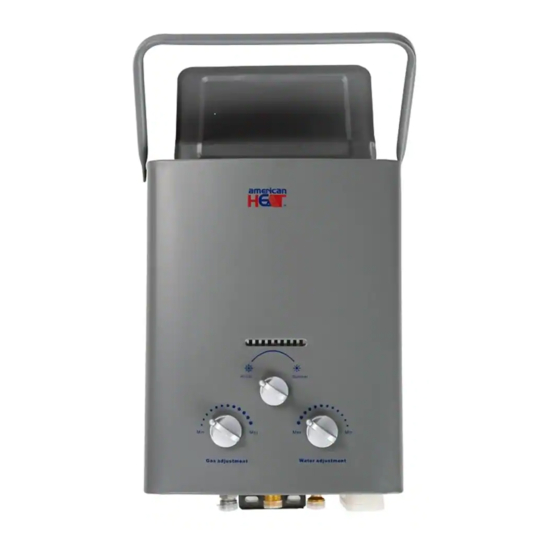
3. Install vent shield as shown with two Phillips screws found in the hardware
package for a more permanent fixture. Or, you can simply slide it into its slots for a
more temporary placement.
4. Attach a garden hose adapter to the fitting marked"Water Input"(far
right1/2"connection). Use"Teflon" tape or other approved sealing method on the
threads for a secure, water tight fit. Checks to make sure the screen inside the
water inlet is in place and clean and then attach your water input/garden hose.
5. Install gas supply line and regulator to the unit. DO NOT OVER TIGHTEN.OVER
TIGHTING MAY CRACK THE GAS REGULATOR CAUSING A GAS LEAK! Check
for any gas smell before ignition! Make sure it is screwed all the way on.
6. Attach shower nozzle to the fitting marked"Water Outlet" (middle1/2"connection).
Connect using hand pressure ONLY. If installing in an existing water system,
connect the hot water line directly to the 1/2" NPT fitting.
7. Install two "D" cell batteries in the compartment on the bottom left of the heater.
Check that batteries are facing the correct direction.
8. Use the top tab on the unit to suspend from a screw adequate to holding 15
pounds. Place at a comfortable height without putting stress on the gas hose. If
the unit is to be permanently mounted, use screws to attach the bottom tab firmly.
DO NOT USE SUSPENDED FROM THE HANDLE!
9. Attach gas regulator with hose to LP tank. Use hand pressure only on the plastic
connector. LEAVE GAS TANK VALVE IN THE "OFF" POSITION"
Before going to the USE section:
Check around area for flammables, especially gasoline or other vapors which may
ignite. The exhaust and top of the unit will get HOT! Make sure there are no foreign
objects around the unit or have fallen into top.
4. USE
Starting
1. Turn on incoming water supply. Ensure that you have adequate water pressure of
between 20-80 PSL.
2. Turn shower nozzle to its off position
3. Turn the gas valve on the cylinder all the way open.
4. Set the water regulator knob on the face of the unit to its highest setting – All the
way to the left.
