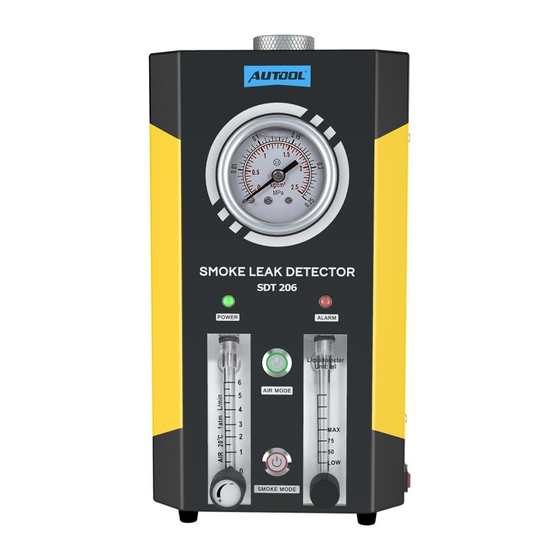
⑧ Oil level meter:To indicate the amount of filled oil.
⑨ Oil outlet valve: Test oil outlet port.
⑩ Power switch: Switch it on, and the detector works.
⑪ Power cable port: to connect positive and negative cable.
⑫ Smoke output tube: The smoke outlet which connecting with detection port.
4. Operation
1.
Open the engine cover, and hang the detector in the cover.
2.
Disconnect the pipe that needs to be connected with detector. If the pipe needs to be
disconnected in the middle, please secure the other side with a rubber stopple.
3.
Secure the side with proper taper stopple/pipe, and connect it with smoke output tube.
4.
Connect detector with DC12V battery: red with positive(+), black with negative(-). Do
not connect in a reversed way.
5.
Turn on the power switch, and the detector starts to work.
6.
In about 3 minutes, the pipe will be filled with smoke. Check the leak points. Please
use head lamp if necessary.
7.
After leak detection, please connect the wires and pipe well back together.
5. Maintenance
1. With long time high temperature, the smoke and oil will oxidize and deteriorate. It will
infect the service life of smoke generated part, so please change smoke and oil regularly.
2. When the smoke output has water drops, please replace with fresh oil.
3. Please fill fresh oil with equipped oil bottle.
6. How to Do Leakage Test
1.
Turn on device then block smoke exhaust port, record pressure gauge value.
2.
Connect smoke exhaust port to the pipe system you want to test.
3.
Wait for a while. Pressure gauge value decrease means the pipe system have leakage,
pres-sure gauge value show "0" means diameter of leakage point is more than 0.3mm.
7. Specifications
Brand
AUTOOL
Name
Smoke Leak Detector
