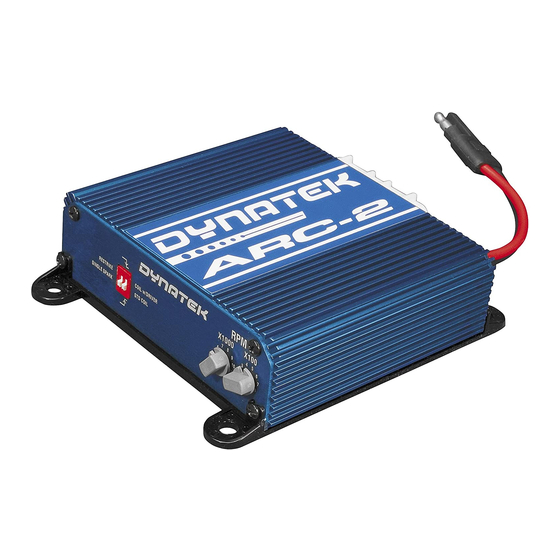
Wire Functions:
The wires on the ARC-2 are color coded as follows:
On the 2 pin power connector (12 gauge wiring)
Red – Battery 12V
Black – Battery Ground
On the 16 pin connector:
1) Blue – Output to Coil 1
2) Black – Coil Ground
6) Green – Tach Signal
7) Blue/Black – Coil 1 Signal from ECU
8) Purple – Retard Enable
9) White – Output to Coil 2
10) Black – Coil Ground
12) Orange – 12V to Coil
14) White/Black – Coil 2 Signal from ECU
16) Purple/White – Clutch Switch for Launch Limiter
Standard Installation Procedure:
1)
Disconnect vehicle battery ground.
2)
Determine if the coils are compatible with the ARC-2, as described in Pre Installation.
3)
Mount ARC-2 main unit in desired location. Mount it away from heat sources such as exhaust manifolds. Make sure
the power harness can reach the battery. The closer to the battery you can mount it, the better. Make sure that the
main harness is able to reach the coils.
4)
Wire Power Harness to vehicle battery. Cut it to length as needed, shorter power wires are better. Do not cut it
shorter than the fuse connector, as you must keep a fuse in the power line for safety.
5)
Wire Main Harness (from the install kit) using the Standard Installation Diagrams shown below. For each wire,
perform the cut first then splice the wires onto the 2 cut wire ends as shown.
6)
Make sure the Coil Edge Select switch on the ARC-2 is set to the correct setting. Set the Launch Limiter RPM to Off.
7)
Plug in Power Harness, install fuse. Plug in Main Harness.
8)
Reconnect vehicle ground.
9)
Turn off Spark Restrike, and check vehicle idle timing, to make sure that it is in spec. This will verify that you have
the Coil Edge Select set correctly.
Once the ARC-2 is installed and working, you can wire in the additional features.
Tech Support: 1800-928-3962
2801211
Installation Guide- 5
