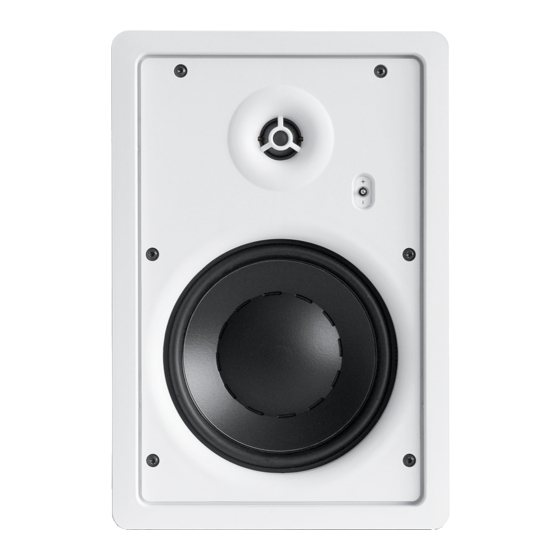
- ページ 5
スピーカー Dynaudio IP 17のPDF 取扱説明書 インストール 製品をオンラインで閲覧またはダウンロードできます。Dynaudio IP 17 20 ページ。 In-wall- and in-ceiling-loudspeaker
Dynaudio IP 17 にも: インストレーション製品 (3 ページ)

Unpacking
• Fold the top carton flaps back and carefully remove the
contents. We suggest that you keep the entire packaging
and all contents until the installation is complete.
• Check the contents; see previous page for a checklist.
• Remove the speaker from the plastic bag.
• Carefully remove the grille by lifting both ends of the red foil at
the same time.
• Un-tighten the transport screws (IP 17: 6, IP 24: 10), using the
Torx 20 bit, and place the screws into the accessory pack for
later use.
• Remove the baffle from the frame and, to avoid damage, keep
them in the supplied plastic bag (and preferably in the carton)
away from the work area until they are ready to be mounted.
Hint: Also reference the chapter titled "installation guide" (p. 10).
Auspacken
• Klappen Sie die Oberseiten des Kartons auseinander und ent-
nehmen Sie vorsichtig den Inhalt. Wir empfehlen Ihnen, die
Verpackung bis zum Abschluss der Installation aufzubewahren.
• Überprüfen Sie alle Bestandteile auf Vollständigkeit (s. Seite 4).
• Entnehmen Sie den Lautsprecher aus der Kunststoffhülle.
• Entfernen Sie die Abdeckgitter vorsichtig vom Lautsprecher.
Ziehen Sie dazu gleichzeitig an den roten Folienstreifen.
• Lösen Sie die zehn äußeren Schrauben (Transportsicherung)
mit dem Torx 20 Bit. Bewahren Sie die Schrauben sorgfältig
auf, da sie später bei der Installation benötigt werden.
• Nehmen Sie die Schallwand aus dem Aluminiumrahmen und
bewahren Sie beides in der Verpackung auf, bis Sie mit dem
Wandeinbau beginnen können.
Hinweis: Siehe auch Kapitel Installation (ab Seite 10).
Dynaudio Installation Product 05
