- ページ 7
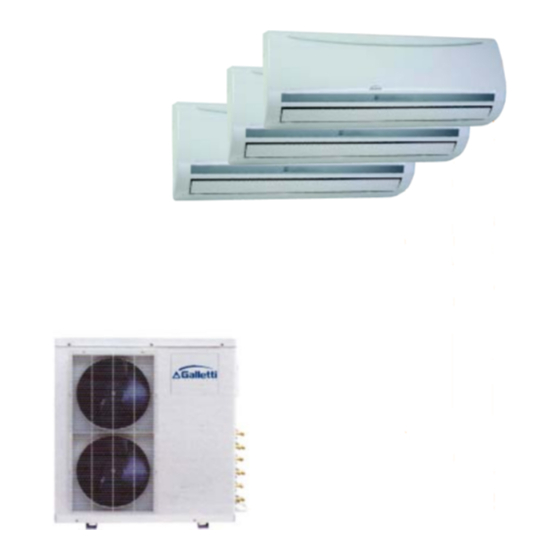
エアコンアクセサリー Galletti MSA 5 999 HのPDF ユーザーマニュアルをオンラインで閲覧またはダウンロードできます。Galletti MSA 5 999 H 16 ページ。 Multisplit with high wall indoor units
MSA - MSA 5
4.
DENOMINAZIONE E FUNZIONI DEI COMANDI
DELL'UNITÀ INTERNA
QUADRO DI COMANDO
Sollevare il pannello frontale per eseguire le impostazioni sul quadro di
comando.
-
Apertura del pannello frontale
Tirare verso l'alto dalle due estremità del pannello frontale.
Aprire il pannello e sollevarlo fino a quando rimane
bloccato.
Non forzare il pannello oltre il "clic" che sentirete una
volta raggiunta la posizione di bloccaggio.
-
Chiusura del pannello frontale
Chiudere il pannello frontale premendo a fondo dalle due
estremità.
TEMPORANEO
Impostare normalmente questo interruttore sul comando a distanza. Se il
comando a distanza non fosse rintracciabile o le batterie fossero scariche,
portare questo interruttore sulla posizione Auto/Freddo per un'operazione di
funzionamento temporaneo.
Priorità riscaldamento: quando una delle tre unità interne (unità A1) si
commuta su riscaldamento, le altre due unità interne (unità A2 e B)
interrompono il funzionamento in raffreddamento e si portano sulla modalità
SOLO VENTILAZIONE (la spia di funzionamento rimane accesa). Quando
l'unità A1 si commuta su Raffreddamento, le unità A2 e B ripartono
automaticamente nella modalità raffreddamento.
5.
ORIENTAMENTO DEL FLUSSO D'ARIA
-
Orientare il flusso d'aria nel modo corretto, evitando
così situazioni non confortevoli e temperatura non
uniforme nell'ambiente.
-
Tramite il comando a distanza regolare il deflettore del
flusso d'aria verticale.
-
Regolare manualmente le griglie del flusso d'aria
orizzontale.
5-1
ORIENTAMENTO DEL FLUSSO D'ARIA
VERTICALE
Il condizionatore provvede alla regolazione automatica
del flusso d'aria verticale in base alle condizioni di
funzionamento.
REGOLAZIONE DEL FLUSSO D'ARIA
DESIDERATO
Questa operazione va effettuata quando l'apparecchio
è in funzione.
Sul comando a distanza mantenere premuto il pulsante
AIR DIRECTION (orientamento aria) così sarà possibile
muovere il deflettore fino a raggiungere l'orientamento
desiderato.
-
Spostare il deflettore del flusso aria verticale entro le
posizioni indicate.
-
Nel funzionamento successivo, utilizzando il pulsante AIR DIRECTION
(orientamento aria) il flusso d'aria verticale si regolerà automaticamente
in base alle impostazioni impartite al deflettore.
È severamente vietata la riproduzione anche parziale di questo manuale / All copying, even partial, of this manual is strictly forbidden
Funzionamento temporaneo
Temporary operation
NOTA
4.
NAMES AND FUNCTIONS OF INDOOR UNIT
CONTROLS
CONTROL PANEL
Lift the front panel to perform control panel settings.
-
Opening the front panel
Pull up from two ends of the front panel. Open the panel and
lift the panel up to an angle where it remains fixed. Do not
lift the panel any further when it stops with a clicking sound.
-
Closing the front panel
Lower ends of the front panel, push the ends on both sides.
Close the panel firmly.
Normally set this switch to remote control. If you miss the remote controller
or its batteries are exhausted, set this switch to the Auto/Cool Position for
temporary operation.
Auto Freddo / Cool
Heating priority: When one of the three indoor unit (as A1 unit) shifts to
heating, the other two indoor units (as A2 unit and B unit) will stop cooling
and shift to FAN ONLY (the operation light will keep on illuminating).When
A1 Unit shifting to cooling , A2 unit and B unit will restart cooling automatically.
5.
ADJUSTING AIR FLOW DIRECTION
-
Adjust the air flow direction properly. Otherwise, it might
cause discomfort and make the roomtemperature uneven.
-
Adjust the vertical air flow louver using the remote controller.
-
Adjust the horizontal air flow grilles manually.
5.1
ADJUSTING THE VERTICAL AIR FLOW
The air conditioner automatically adjust the vertical air flow
direction in accordance with the operating conditions.
TO SET THE AIR FLOW DIRECTION YOU DESIRE
Perform this function while the unit is in operation.
Keep pushing the AIR DIRECTION button on the remote
controller to move the louver to the desired direction.
-
Change the vertical air flow louver direction within
the range indicated.
-
In subsequent operations, the vertical air flow is
automatically set in the direction to which you
adjusted the louver using the AIR DIRECTION
button.
7
TEMPORARY
NOTE
DIRECTION
SY66000107 - 01