- ページ 2
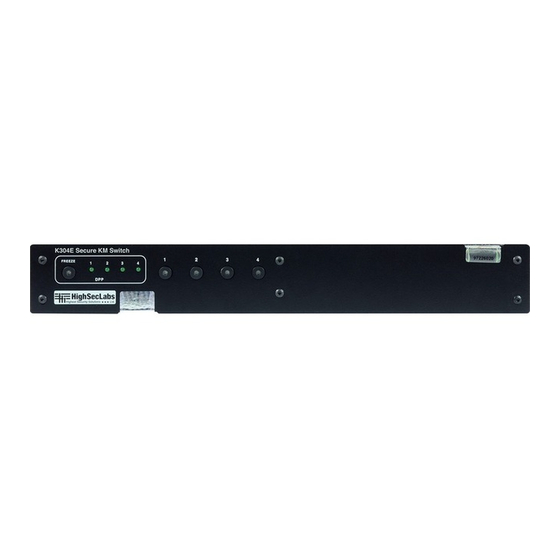
スイッチ HighSecLabs K308のPDF クイック・スタート・マニュアルをオンラインで閲覧またはダウンロードできます。HighSecLabs K308 2 ページ。 4/8 ports high security km switch

1.6
Configure each computer and then
click Next.
Computer name:
Name of the computer
Number of displays:
Number of displays connected to computer
Display Diag (inch):
Diagonal size of display, in inches
Resolution of the display in pixels. See Display Resolution and
Display Resolution (H/W):
Coordinates.
For computers with multiple displays, enter the coordinates of secondary
MS W/H Coordinates:
display. See Display Resolution and Coordinates
1.7
Repeat the computer setup for all the connected computers.
1.8
Create a stage where all the displays for the connected computers appear.
1.9
Align the displays relative to each other as they are physically located.
A yellow corridor appears between the
1.10
displays, where the mouse cursor
moves from one display to the next.
• Click on a yellow corridor to
delete it, where the mouse will
not move between displays.
• To return the yellow corridor,
move the display close to the
adjoining display.
Click Complete Setup to finish the setup and save the .kmc configuration file.
1.11
Step 2 – Load a Display Configuration
Connect a standard 'A' – 'A' USB cable (CPN 06580 or similar) to the Console mouse
2.1
port on the KVM Switch.
2.2
Connect the other end of the USB cable to the external computer.
Press Ctrl, Ctrl, F11, d, c to change the KM Switch to administration mode.
2.3
2.4
The KM Switch will start clicking rapidly. Reboot the KM Switch by disconnecting
power from the KM and reinserting it back into the KM.
Open the KMC Loader application and wait
2.5
for the message KM Ready.
Click Select a new configuration file and
2.6
navigate to the location where KMC Creator
saved the configuration file.
Note: In the following table, the blue displays indicate computers with 1 display. The gray displays indicate computers with 2 displays. P is primary display and S is
secondary display.
1
2
(Factory
F1
Default)
3
4
F2
1
2
3
4
1P
1S
F3
3P
3S
1P
3P
F4
1S
3S
F5
1
2
3P
3S
F6
1
2P
2S
4
F7
1P
1S
3
4
F8
1P
1S
3P
3S
F9
1
2
3
1
F10
2
3
4
After selecting a display configuration, restart the KM Switch by disconnecting it from electrical power and then restarting.
©2016 All rights reserved. HSL logo and product names are trademarks or service trademarks of HighSecLabs Ltd (HSL).
All other marks are the property of their respective owners. Images for demonstration purposes only.
1
F11 | 1 | 1
2
3
1
F11 | 1 | 2
2
3
1
F11 | 1 | 3
2
3
1
2
F11 | 1 | 4
3
1
2
F11 | 1 | 5
3
1
F11 | 1 | 6
2
3
4
1
F11 | 1 | 7
2
3
4
1
2
3
F11 | 1 | 8
4
1
2
F11 | 1 | 9
3P
3S
3P
3S
F11 | 1 | 0
1
2
K 304 • K 304E • K 308 | Q U I CK S TAR T G U I D E
Click Update KM to copy the configuration
2.7
file to the KM Switch.
The dialog should indicate KM Ready,
2.8
showing the newly loaded configuration.
2.9
Turn off the KM Switch and disconnect it
from the external configuration computer.
2.10 Connect the KM Switch to all the connected
computers, as described in Installation, and
restart. The new configuration should be the
default.
Note: If the custom configuration process does not work or issues arise in configuring
the KM Switch, contact HSL at +972 - 4 - 9591191
Step 3 – Display Resolution and Coordinates
3.1
Connect a keyboard, mouse and display to a computer that will be connected
to the KM Switch.
On each computer, open the Screen Resolution
3.2
dialog:
Control Panel > Display > Screen Resolution.
3.3
Note the display resolution in the Resolution
field. If the computer is connected to multiple
displays, set and note the resolution of the
primary (main) and secondary displays.
3.4
Move the secondary display relative to
the primary display, as they are physically
located, and note the coordinates.
Note: If the HSL Secure KM Switch does not work properly, or the configuration
procedure is unclear or does not work, contact HSL support at +972 - 4 - 9591191
If none of the preset display configurations fits your display setup, go to
Advanced Setup to create a custom configuration.
1
3P
F11 | 2 | 1
2
3S
3P
1
F11 | 2 | 2
3S
2
2
3
4
F11 | 2 | 3
1P
1S
3P
F11 | 2 | 4
3S
1P
1S
3
1
F11 | 2 | 5
2
F11 | 2 | 6
1
2
1
2
F11 | 2 | 7
3
3
F11 | 2 | 8
1
2
1
F11 | 2 | 9
3
2
1
F11 | 2 | 0
3
2
2P
F11 | 3 | 1
2S
1P
1S
3
F11 | 3 | 2
1
2
3
4
5
6
7
8
5
6
7
8
F11 | 3 | 3
(8-Port Only)
1
2
3
4
F11 | 3 | 4
1
2
3
4
5
(8-Port Only)
5
6
F11 | 3 | 5
(8-Port Only)
1
2
3
4
4
5
6
F11 | 3 | 6
(8-Port Only)
1
2
3
1P
F11 | 3 | 7
(8-Port Only)
1S
2
3
4
5
1
2
3
4
F11 | 3 | 8
(8-Port Only)
5
6
F11 | 3 | 9
1
2
3
4
5
6
7
(8-Port Only)
6
7
8
F11 | 3 | 0
(8-Port Only)
1
2
3
4
5
HDC09866 Rev 2.4
