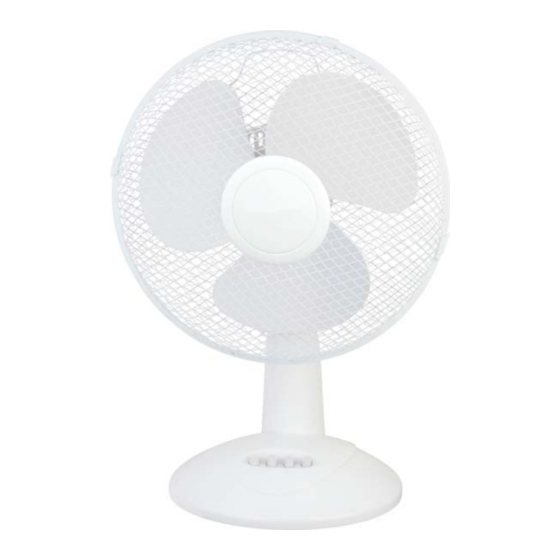
&OHDQ WKH IDQ JULOO KRXVLQJ DQG EDVH ZLWK D VRIW GDPS
cloth.
'R QRW DWWHPSW WR UHPRYH WKH IDQ EODGHV ([HUFLVH FDXWLRQ
around the motor housing area.
'R QRW DOORZ WKH PRWRU RU DQ\ RWKHU HOHFWULFDO FRPSRQHQWV
WR EH H[SRVHG WR ZDWHU
,I \RXU IDQ LV QRW UHTXLUHG IRU VRPH WLPH DQG \RX SODFH LW
in storage, it is important to keep it in a safe and dry
location. It is also important to protect the fan head from
GXVW :H VWURQJO\ UHFRPPHQG XVLQJ WKH RULJLQDO ER[ ZKHQ
storing the fan.
Assembly
1. Loosen the guard mounting nut from the motor housing.
2. Place the rear guard firmly onto the motor housing,
then fasten it by turning the guard mounting nut
clockwise until it is tight.
3. Push the blades along the motor shaft, then fasten them
securely.
4. Hang the front guard onto the rear guard using the
SRVLWLRQ IL[HU RQ WKH JXDUG
V ULP WKHQ MRLQ WKHP WRJHWKHU
with the clips provided.
5. Secure the front guard and the rear guard with the
small screw and nut.
Use
8VH WKH EXWWRQV RQ WKH IDQ ERG\ WR WXUQ WKH IDQ RQ RU
RII DQG WR FKDQJH WKH VSHHG VWRS ORZ VSHHG
0LG VSHHG KLJK VSHHG
2. Oscillation: Push the oscillation knob to make the fan
