- ページ 3
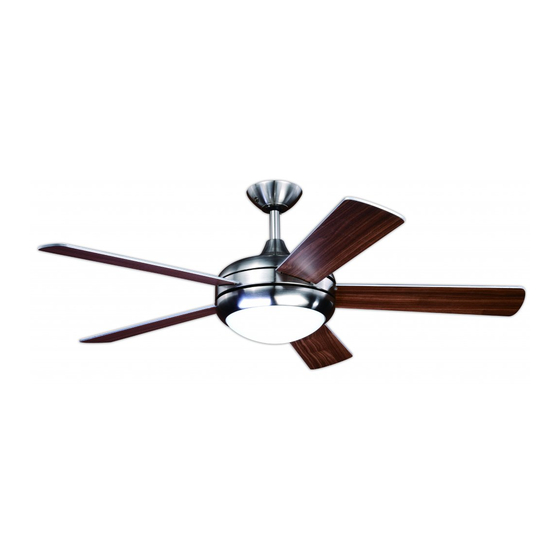
扇風機 aireRyder FN75539のPDF 使用説明書および取付説明書をオンラインで閲覧またはダウンロードできます。aireRyder FN75539 6 ページ。

Fig.1
Turn off the electric circuit at the
main fuse or circuit breaker box.
Fig.3
Motor Wires
Remove three Housing Screws and two
Collar Screws. Take care not to drop the
screws or washers into the fan housing. Push
the Screw Plate and the Top Housing upward,
and slide them down the Motor Wiring until
they are out of the way.
Fig.6
Support Pin
Ball Joint
Lock Pin
Hanger Pin
Slide the support pin out. Remove the
Ground Wire screw. Remove the
Lock Pin and take off the Hanger Pin.
Remove the Hanger Ball.
F A N
C O
171117
Hange r
Bracket
Flat Washer
Spring Washer
Fig.2
Fig.4
Housing Screw
Screw Plate
Top Housing
Blade Screw W/
Rubber Washer
Collar Screw
Insert the Blade through the slot on the Center
Band. Align holes and fasten Blade to the motor
with Blade Screws and rubber washers. Repeat
for remaining Blades. After all Blades are
fastened securely to the motor, restore the Top
Housing and Screw Plate onto the motor and
fasten it with the three Housing Screws.
Fig.7
Screw
Motor Wires
Thread the Motor Wires through the
Downrod.
Attach the hanger bracket to the ceiling
with spring washers, flat washers and 2
mounting screws.
Note: For sloped ceiling installation, make
sure that the hanger bracket is installed so
that the guide pin is facing upward.
Guide Pin
Housing Screw
Screw Plate
Top Housing
Center Band
Slot
Blade
Downrod
Insert the Downrod into the Collar.
Slide Hanger Pin through holes of
Collar and Downrod.
Fig.5
Remove the Hanger Ball screw, then
slide the Hanger Ball downwards.
Fig.8
Downrod
Collar
3
