- ページ 15
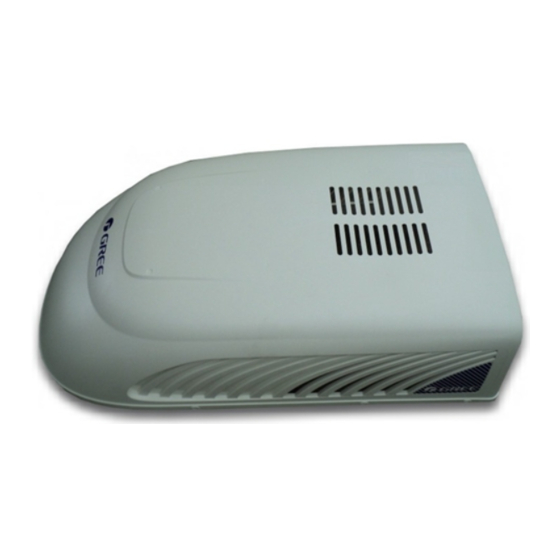
エアコン Gree RVA-150RのPDF 取扱説明書 操作と設置をオンラインで閲覧またはダウンロードできます。Gree RVA-150R 20 ページ。 Recreational vehicle air conditioner

- 1. Air Conditioner
- 1. 1 A few Words about Your New Air Conditioning Unit
- 1. Electrical Data
- 2. Table of Contents
- 2. 2 Electric Diagram
- 3. 3 Packing List
- 4. 4 Specifications
- 5. 5 Operation of Wireless Remote Control
- 6. 6 Control Panel
- 7. 7 Installation Instruction
- 7. Step 1-Selecting an Installation Location & Installing the Roof Top Air Conditioner
- 7. Step 2-Installing the Ceiling Assembly
- 7. Step 3-Electrical Wiring
- 7. Step 4-Completing the Installation
- 8. 8 Troubleshooting Guide
- 9. 9 Normal Maintenance Procedures
STEP 2-INSTALLING THE CEILING ASSEMBLY
Make sure that you have properly matched the roof top air conditioner and interior ceiling
assembly.The following step by step instructions must be performed in the following sequence
to ensure proper installation.
1.
Carefully take the ceiling assembly out
of the carton (The remote control packed
with the ceiling assembly).
2.
Remove the ceiling grille from the ceiling
assembly.
3.
Before the ceiling assembly can be
mounted to the roof top air conditioner,
the fabric duct collar must be fastened
to the basepan of the roof top air
conditioner with 4 screws by upper duct
plate (see Figure 5 and Figure 5-1 and
Figure 5-2).
4.
Before lifting the ceiling assembly, pull
the fabric duct collar so it hangs out of
the way and does not get caught under
the ceiling assembly frame.
Gasket
4 Bolts
Figure 5
Outdoor Unit
Installation Way of
Ventilation Opening Clamp
Figure 5-1
Upper Duct Plate
Fabric Duct
Figure 5-2
Fabric Duct Collar
Indoor Unit
This Should Be
Assembled.
5.
Secure the ceiling assembly frame to the
roof top air conditioner with the mounting
bolts(see Figure 5).You must start (thread)
themounting bolts by hand to avoid
cross-threading. DO NOT START THE
MOUNTING BOLTS WITH AN AIR GUN.
The mounting bolts should be tightened,
process is completed when the basepan
gasket has been evenly compressed.
6.
Pull the fabric duct collar through the
ceiling assembly frame opening and pull
the four corners to extend below the duct
opening (see Figure 5 and Figure 5-1).
7.
Fasten each side of the fabric duct with
fitting the bottom duct plate to the ceiling
assembly frame with 4 screws (see Figure
6).Trim any excess fabric that may extend
beyond edge of bottom duct plate.
Figure 6
Please pay attention to
match the gap with the
riveted nut during installation
Figure 6-1
- 13 -
Frame
Bottom Duct
Plate
4 Screws
