- ページ 13
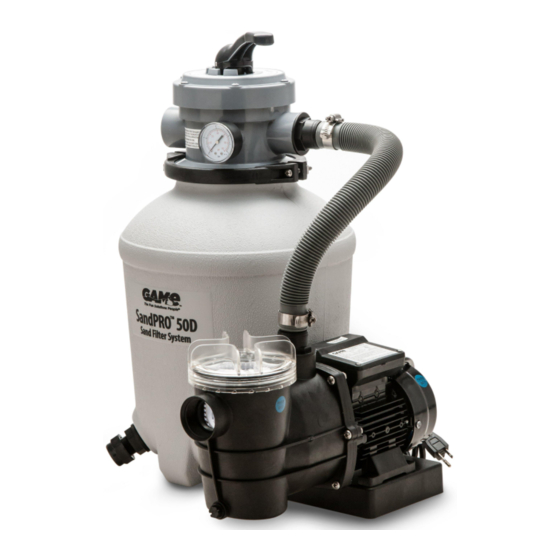
浄水器 GAME SandPRO 75DのPDF オーナーズマニュアルをオンラインで閲覧またはダウンロードできます。GAME SandPRO 75D 20 ページ。 Pool filter system

- 1. Table of Contents
- 2. Safety Warnings
- 3. General Information
- 4. Technical Specifications
- 5. Parts List/Reference
- 6. Getting Started
- 7. Assembly Instructions
- 8. Connecting the Filter System
- 9. Valve Operations
- 10. Filter Operations
- 11. Maintenance
- 12. Troubleshooting
- 13. Limited Warranty Statement
- 14. Appendix: Exploded Parts Diagram
9.
FILTER OPERATIONS
Start Up
Once the filter system has been properly assembled, the sand chamber filled with sand and the hoses connected, you may begin with
filtration. However, we recommend that you clean and prepare the new sand that is in the sand chamber first. Cleaning the sand prior
to filtering your pool will remove most of the dust and tiny sand particles that may exist in the sand. If you move straight to filtering,
these particles will end up in your pool.
Cleaning the Sand
1.
Disconnect the pump from the power source.
2.
Start with the 4 way valve in the CLOSED position.
3.
If you haven't done so already, fill your pool with water. Ensure that the water level is at least 1 - 2 inches (2.54 - 5.08cm) above the
top of the hose intake and return ports in the pool.
4.
Release the shut off valve at the intake port in the pool. If you plugged the intake port, remove the plug to allow the water to flow
into the intake hose.
5.
With the filter-pump system installed in a location level lower than your pool's water level – water will automatically flow into the
filter system.
6.
Allow the filter tank to fill with water.
7.
Check for leaks and make any necessary adjustments.
8.
Follow the backwash process below.
Backwash Process
1.
Disconnect the pump from the power source (if not disconnected already).
2.
Remove Backwash Drain Plug.
3.
Connect standard adapter to backwash port.
4.
Attach backwash hose (not included) to adapter.
5.
Place the 4 way valve in the BACKWASH position.
6.
Reconnect to the power source.
CAUTION: SEE SECTION 5, POWER SOURCE REQUIREMENTS
7.
Run filter in backwash mode until discharge water is clear.
8.
Disconnect the pump from the power source.
9.
Place the 4 way valve in the RINSE position.
10. Reconnect to the power source.
11. Allow filter to run for 60 seconds to remove any remaining residue from pump and valve.
12. Disconnect the pump from the power source.
13. Place the 4 way valve in the FILTRATION position.
14. Reconnect to the power source.
Your filtration system is running and ready for further operation.
NOTE: When the filter pump is properly connected to the power source, the pump will begin to push the water through the
bed of sand and out of the backwash hose. In this process, water will be drained from your pool as it cleans the bed of sand
within the tank. You may want to put a garden hose in the pool to add water while the pump is running so that the water level
does not fall below the intake return ports. While the sand is being cleaned, run your fingers through the water exiting the
backwash hose. When you can no longer feel or see sandy grit in the water, the sand cleaning process is complete.
Backwash Do's and Don'ts
Be aware and make note of the filter pressure when the sand is clean. Backwash when you see an increase of 5–10 psi on the
pressure gauge.
•
Do backwash long enough to get the job done right. Let the system backwash until the water exiting the waste line is clear.
Note that backwashing can remove 50–300 gallons (189 - 1,135 liters) of water from your pool so pay attention. Also, be aware
of local codes regarding pool water disposal as some communities outlaw drainage.
•
Don't backwash excessively. Sand filters operate more efficiently during mid-cycle. Some level of debris in the sand bed
actually helps filtration and makes the filter more effective. Too much backwashing will reduce efficiency.
•
Don't vacuum the pool in backwash mode. This can plug up the strainer at the bottom of the filter which will result in
inefficient operation. In addition, you may have to remove all of the sand to get it unclogged.
13
SAVE THESE INSTRUCTIONS
