テント Core 40061のPDF クイック・スタート・マニュアルをオンラインで閲覧またはダウンロードできます。Core 40061 2 ページ。 12 person instant cabin tent - 18 x 10
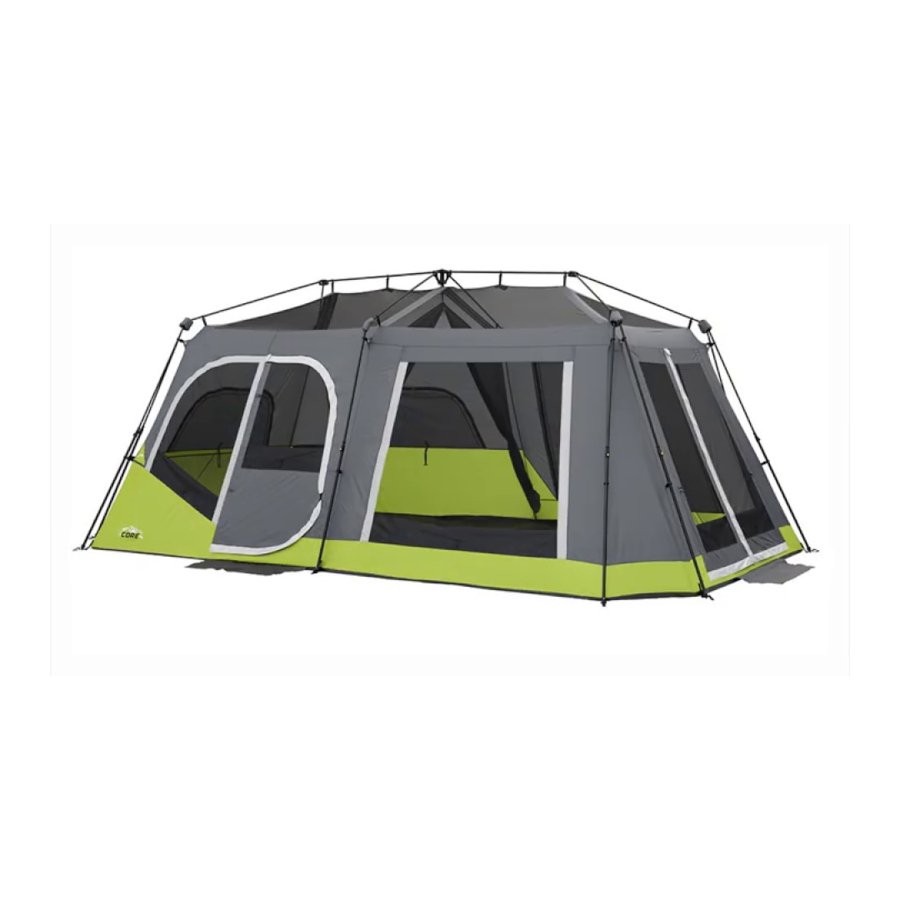
12 PERSON INSTANT CABIN TENT - 18 x 10
Two people can easily setup this instant tent in 2 minutes or less.
Contents & Repair Parts:
Roof Pole #91207
Center Hub #91204
Corner Joint
#91150
Side Awning
Pole #91210
Side Eave Pole
#91201
Telescoping
Leg Pole
Mid Eave Pole
#91203
#91202
Not Pictured:
Cord-Lock #91169
Carry Bag #91205
Rainfly #91206
1
Prepare for Setup
• Select a level site clear of rocks, branches, and other hard or sharp
objects, to set up your tent.
• Remove all contents from bag.
• Unfold (10) leg poles from the pod shape. Unfold legs again at
joints to lay tent flat. Center will
stand up.
2
Lift Roof and Eave Poles
NOTE: 2 people will be needed to erect and extend the tent poles.
•
Lift up on arm joints until eave poles at 3-way side hubs are extended.
•
Grab roof poles and pull straight out to create tent's cabin shape
(leg poles will angle at joints to partially stand up).
3-WAY HUB
CORNER JOINT
SIDE
DOOR
LEG POLE
3
Extend Leg Poles
NOTE: DO NOT extend telescoping
poles until all legs and ceiling hubs
are elevated.
3-Way Side Hub #90138
• Extend each of the (10) leg poles
Front Awning Pole #91209
until the locking buttons "click,"
and lock the poles into place.
2-Way Corner Joint #91211
Base of Pole
Connector #90021
4
Attach Rainfly
Foot Connector
#90007
• Drape rainfly over tent, placing "Core" logo over front & side door.
• Snap plastic clip attached to strap located at corner of rainfly onto
the upper portion of the button box on leg pole labeled RAINFLY.
Room Divider #91208
(Detail 1)
Reflective Guyline #91220
• Insert shockcorded awning poles into sleeves on underside of rainfly
above front door. (Detail 2)
• Insert metal end of awning pole into hole on plastic grommet located
at each side of front door. (Detail 3)
• Repeat steps on side door of tent.
• Tighten straps on rainfly to secure.
• Attach (1) hook-and-loop tab on the underside of the rainfly to
each pole. (Detail 4)
1
ROOF POLE
EAVE POLES
Stake Tent, Secure Ground
5
2-WAY CORNER JOINT
Vents and Guylines
FRONT DOOR
• Drive stakes at a 45º angle through web loop
at base of tent to secure to ground. (Detail 5)
• Floor of tent should be taut when staked properly.
• Locate guylines attached to the rainfly. (Detail 6)
STITCH LINE
LOCKING
BUTTON
3
2
RAINFLY
SLEEVE
PLASTIC
GROMMET
Stake Tent, Secure Ground Vents and Guylines
5
(continued)
• Stake out each guyline at a 45 degree angle.
• Tighten guylines as needed by adjusting the slider up the cord.
• Stake out ground vents on either side of tent (where air intake
graphics are).
6
Install Room Divider
• Hang room divider by inserting black toggles
through the plastic rings on fabric loops located
at the center portion of the sides of your tent, as
needed. (Detail 7)
TAKE DOWN INSTRUCTIONS:
• Remove room divider from inside of tent.
• Remove all stakes from tent and guylines. Store in stake bag.
• Unhook plastic rainfly clips from leg poles.
• Unfasten hook-and-loop tabs on underside of the rainfly from poles.
• Remove awning poles from rainfly sleeve at front and side of tent.
Store in pole bag.
• Detach the rainfly, and set aside.
• Push the locking buttons and retract the (10) leg poles to closed position.
• Push down on the corner joints so the tent lays flat.
4
• Fold the (10) poles in half at the corner joints, so they meet in the center.
• Gather folded tent poles and fabric into the center to form a pod.
• Lay pod down and roll tent to remove excess air.
• Store in carry bag with rainfly and bag of stakes.
5
6
Model No. 40061
7
(continued on other side)