テント Core 40063-1のPDF クイック・スタート・マニュアルをオンラインで閲覧またはダウンロードできます。Core 40063-1 2 ページ。 10 person lighted instant cabin tent with screen room – 14.5 x 14
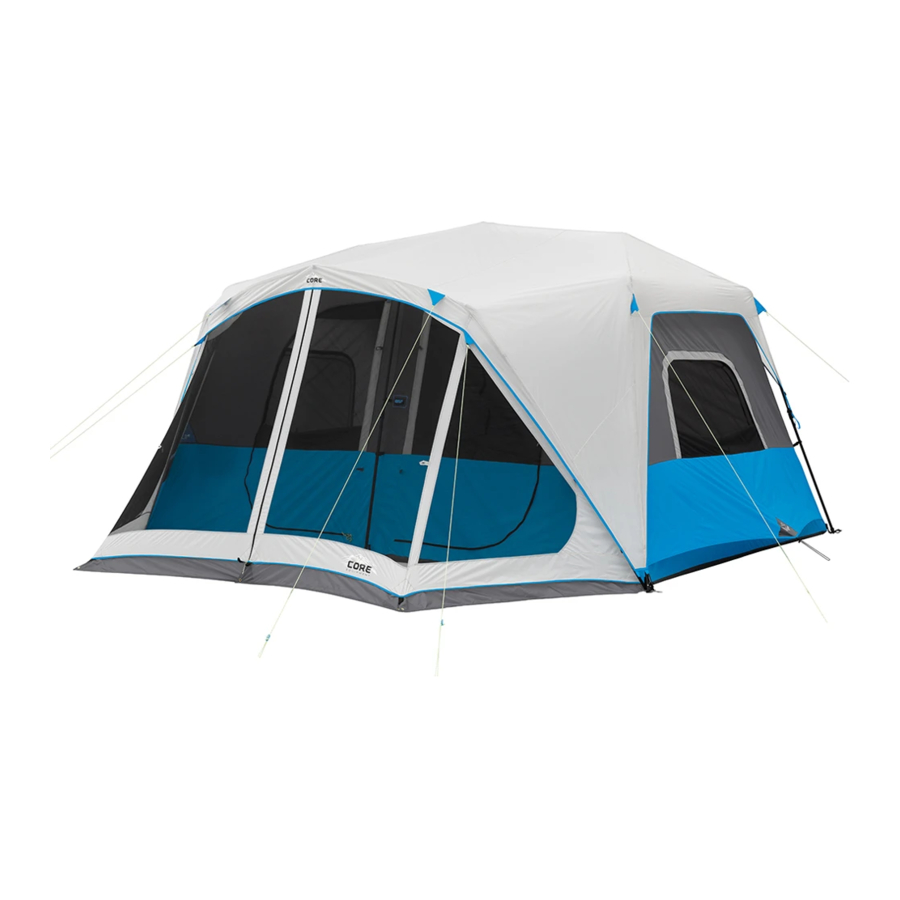
10 PERSON LIGHTED INSTANT CABIN TENT WITH SCREEN ROOM – 14.5 x 14
Two people can easily setup this tent in just a few minutes.
Contents & Repair Parts:
Center Hub #90940
LED Roof Pole #91177
Mid Upper Eave Pole
#90933
Screen Lip Pole
#91168
Screen Support
Pole #90272
Screen Joint
#90274
Base of Pole Connector #90943
Foot Connector #90944
1
• Empty contents of bag and confirm all parts are included and
undamaged.
NOTE: Do this at home before you leave on your trip.
• Select a smooth level site and lay out your tent.
• Unfold LEG POLES and spread out tent.
NOTE: Position screen room in the direction
you choose for best access to
the screen room and tent.
Screen Room
2
Lift Tent
• Lift up on ARM JOINTS of the six tent LEG POLES. The tent will
partially raise when ARM JOINTS are extended. (Detail 1)
• Extend tent telescoping LEG POLES until the LOCKING BUTTONS
"click" into locked position. (Detail 2)
1
"Click"
3
Set Up Screen Room
• Insert SCREEN LIP POLE into SLEEVE above door of screen room.
(Detail 3)
Side Hub #90941
• Insert each end of the SCREEN LIP POLE into ribbed end of both
Side Upper Eave Pole #90932
SCREEN JOINTS. (Detail 4)
Corner Joint #91150
• Insert end of SCREEN SUPPORT POLES into smooth end of the
Side Telescoping
SCREEN JOINTS. (Detail 4)
Leg Pole #90934
• Insert bottom of SCREEN SUPPORT POLES into METAL PIN located
Mid Telescoping Leg Pole
at side of tent. (Detail 5)
#90935
NOTE: You can now easily move your tent to its final position before
Not Pictured:
installing the rainfly and securing with stakes and guylines.
Room Divider #90937
Compression Wrap #90939
Reflective Green Guyline #91121
3
Cord Lock #91169
Carry Bag #91178
Rainfly #91179
Inside of On/Off Switch #91217
Outside of On/Off Switch #91218
Battery Compartment #91225
4
Stake Tent
• To stake out the tent, drive STAKES through the
PIN-RING assemblies or WEBBING LOOPS on
the tent base and screen room base. (Detail 6)
NOTE: Floor of tent should be taut when staked
properly.
5
Attach Rainfly
• Drape RAINFLY over tent. FRONT: Connect S-HOOK on the RAINFLY
into the PIN-RING (Detail 7). BACK: Snap plastic clip attached to
strap located at corner of rainfly onto the upper portion of the but-
ton box on leg pole labeled RAINFLY. (Detail 8).
• Locate HOOK AND LOOP FASTENERS on the underside of the
RAINFLY and fasten to corresponding TENT & RAINFLY POLES.
(Detail 9)
2
10
SLIDER
STITCH LINE
Ribbed
End
5
Smooth
End
6
9
7
8
Model No. 40063-1
6
Stake Guylines
• To stabilize the tent, unroll the GUYLINES attached to the WEB-
BING LOOPS on the RAINFLY. Make a loop at the opposite end
of the GUYLINE using the PLASTIC SLIDER and place the loop
over the tent STAKE.
• Drive the STAKE into the ground to secure.
• Adjust the PLASTIC SLIDER to tighten the GUYLINE. Repeat for
each GUYLINE. (Detail 10)
7
Install Room Divider
NOTE: The divider curtain provides extra privacy in
your tent.
• To install it, attach divider's plastic toggles to corre-
sponding loops on the wall inside the tent. (Detail 11)
Lighting Component:
NOTE: Pressing the "NIGHT LIGHT" button activates
amber-colored lights to help preserve night vision.
OPTION 1
Add 4-D batteries to
Slide battery pack into
Zip up pouch, then plug
empty battery pack.
pocket located inside
in battery pack cord
the tent.
into lighting connector.
(Batteries not included)
OPTION 2
Rechargeable
Slide Power Pack into
Zip up pouch, then plug
Portable Power
pocket located inside
lighting connector into
Pack
the tent.
port on Power Pack.
(not included)
For optimized performance, use a Rechargeable Portable Power Pack
with a 5V, 1A output.
CAUTION: USB is not compatible with charging external device.
IMPORTANT: Remove battery pack before taking down tent. Failure to do so will
drain the batteries and possibly damage the tent fabric.
11
Press buttons
on switch box
located on
either inside
or outside of
tent to turn on
lighting.
Press buttons
on switch box
located on
either inside
or outside of
tent to turn on
lighting.
(continued on other side)