- ページ 9
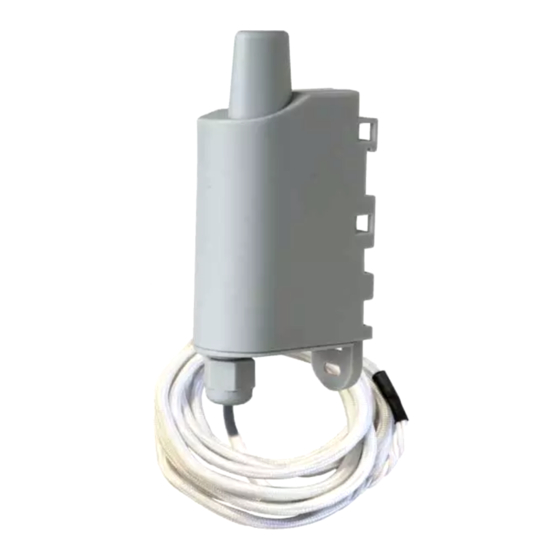
アクセサリー Adeunis RF ARF8047PA-B03のPDF クイック・スタート・マニュアルをオンラインで閲覧またはダウンロードできます。Adeunis RF ARF8047PA-B03 10 ページ。 Sensors transceiver combined with a water-leak cable

Waterleak cable - Package IoT - Quick start guide 1.0.0
Waterleak cable - Guide utilisateur / User guide version V1.0.0
Waterleak cable - Guide utilisateur / User guide version V1.0.0
1.2.2 The SENSORS transceiver
There are two key rules to optimize radio ranges.
•
The first one consists of positioning your product as high as possible.
•
The second one consists of limiting the number of obstacles in order to avoid excessive attenuation of the radio wave.
Position: Insofar as possible, install the transmitter at a minimum height of 1.50 m and do not attach it to the wall.
Obstacles: Ideally, the product must be 20 cm away from any obstacle and, if possible, near an opening (the closer the obstacle is, the more
the emitted power will be absorbed). All the materials encountered by a radio wave will attenuate it. Bear in mind that metal (metal cabinets,
beams, etc.) and concrete (reinforced concrete, partitions, walls, etc.) are the most critical materials for the propagation of radio waves.
20 cm
Optimized positioning
1.3. Starting up the product using a magnet
Once the product has been configured and its assembly has been final-
ized, the product is ready to be started up.
The start-up is carried out using a magnet which you place on the
upper part of the product (cf. the diagram below). The magnet must be
held in position for at least 6 seconds so as to confirm the start-up of
the product. Once the SENSORS validates its start-up, it immediately
transmits status frames.
WARNING: Once the SENSORS unit has started up, it cannot be
switched off.
The product offers 3 fastening methods that enable numer-
ous ways of positioning it depending on the environment
where it has to be deployed :
- Tube or mast fastenings
- Fixing with screws
- DIN-Rail fixing
Low radio range
Position of the magnet
to start the product
9 of 10
FR
EN
