- ページ 6
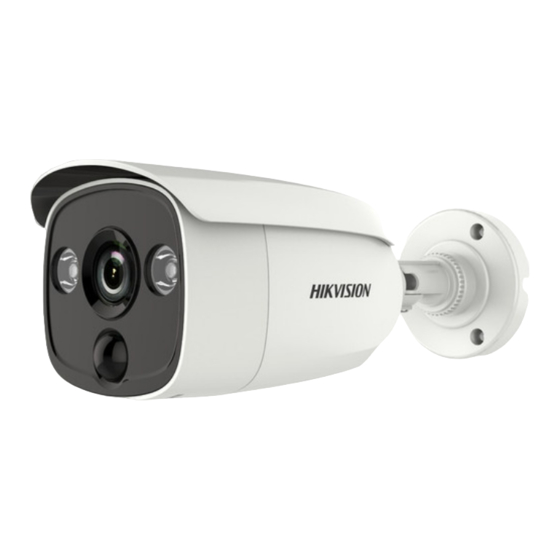
防犯カメラ HIKVISION D0T PIR SeriesのPDF ユーザーマニュアルをオンラインで閲覧またはダウンロードできます。HIKVISION D0T PIR Series 17 ページ。 Turbo hd bullet camera
HIKVISION D0T PIR Series にも: ユーザーマニュアル (16 ページ)

2 Installation
Before you start:
Make sure that the device in the package is in good
condition and all the assembly parts are included;
Make sure that all the related equipment is power-off
during the installation;
heck the specification of the products for the
installation environment;
heck whether the power supply is matched with your
required output to avoid damage;
Make sure the wall is strong enough to withstand three
times the weight of the camera, and the mount;
If the wall is cement, insert expansion screws before
installing the camera; If the wall is wooden, use self-
tapping screw to secure the camera;
If the product does not function properly, contact your
dealer or the nearest service center; Do NOT
disassemble the camera for repair or maintenance by
yourself;
2.1 Ceiling/Wall Mounting without Junction Box
Steps:
1. Disassemble the camera;
1). Rotate the camera to align the notch to one of the
marks.
2). Pry the mounting base to remove the mounting base
with the camera body with a flat object, e.g., a coin.
2. Paste the drill template (supplied) to the place where
you want to install the camera;
3. Drill the screw holes, and the cable hole (optional) in
the ceiling/wall according to the drill template;
Note:
Drill the cable hole, when adopting the ceiling outlet
to route the cable
4. !ttach the mounting base to the ceiling/wall, and
secure them with supplied screws
Available from A1 Security Cameras
w.a1securitycameras.com email: sales@a1securitycamera
Mark
Notch
Figure 2-1 Drill Template
Coin
