- ページ 2
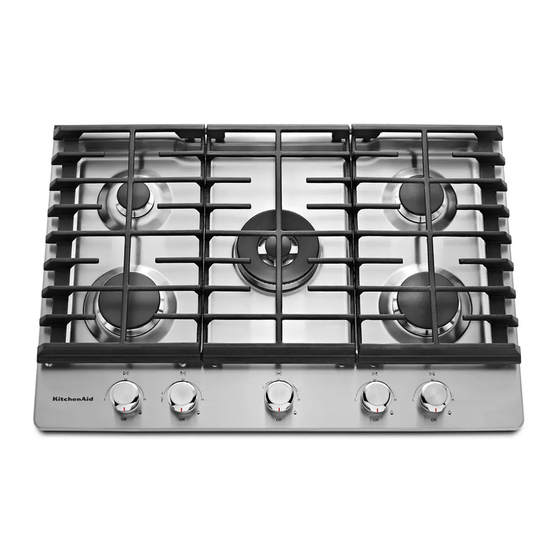
クックトップ KitchenAid KCGS350ESSのPDF ユーザーマニュアルをオンラインで閲覧またはダウンロードできます。KitchenAid KCGS350ESS 9 ページ。 Gas cooktop
KitchenAid KCGS350ESS にも: ユーザーマニュアル (17 ページ), ユーザーマニュアル (16 ページ), クイック・スタート・マニュアル (2 ページ)

- 1. User Guide
- 2. Gas Cooktop
- 3. Lighting the Burners
- 4. Important Safety Instructions
- 5. Key Usage Tips
- 6. Lp Gas Conversion
- 7. Placement of Burner Heads and Caps
- 8. Assembling Your Cooktop
- 9. Assembling the Burners
- 10. Grate Placement
- 11. Cooktop Burners
- 12. Cooktop Features
- 13. Care and Cleaning
- 14. Cooking with Your Cooktop
- 15. Problem Solver
- 16. Kitchenaid Cooktop Limited Warranty
State of California Proposition 65 Warnings:
WARNING: This product contains one or more chemicals known to the State of California to cause cancer.
WARNING: This product contains one or more chemicals known to the State of California to cause birth defects or other reproductive harm.
WARNING:
To reduce the risk of fire, electrical shock, injury to
persons, or damage when using the cooktop, follow basic
precautions, including the following:
WARNING:
NEVER use this appliance as a space heater to
I
heat or warm the room. Doing so may result in carbon monoxide
poisoning and overheating of the cooktop.
CAUTION:
Do not store items of interest to children in
I
cabinets above the cooktop – children climbing on the cooktop
to reach items could be seriously injured.
Proper Installation – The cooktop, when installed, must be
I
electrically grounded in accordance with local codes or, in the
absence of local codes, with the National Electrical Code,
ANSI/NFPA70 or the Canadian Electrical Code, Part 1 . Be sure
the cooktop is properly installed and grounded by a qualified
technician.
LP Gas Conversion
I
MPORTANT: This cooktop is factory set for use with Natural gas. If
you wish to use Liquid Propane (LP), call a licensed professional to
install the LP gas conversion kit (included).
Placement of Burner Heads and Caps
All burner caps and burner bases should be properly installed BEFORE
operating the cooktop. Check that the right size head and cap is on the
right size burner.
Refer to the "Assembling Your Cooktop" section for proper burner head
placement details.
Lighting the Burners
IMPORTANT: All burners will click/spark when a knob is pushed in.
A burner will light only if the knob is pushed in and then turned
counterclockwise to
.
To light the burners:
1. Push in the knob.
2. Turn the knob counterclockwise to
3. Turn the knob anywhere between Hi and Lo to the desired setting.
Power failure: In case of a power failure, burners can be lit manually.
Hold a lit match near the burner and turn the knob counterclockwise
to
.
IMPORTANT SAFETY INSTRUCTIONS
SAVE THESE INSTRUCTIONS
KEY USAGE TIPS
. Wait until you see a flame.
This cooktop is equipped with a three-prong grounding plug for
I
your protection against shock hazard and should be plugged
directly into a properly grounded receptacle. Do not cut or
remove the grounding prong from this plug.
Disconnect the electrical supply before servicing the cooktop.
I
Injuries may result from the misuse of the cooktop such as
I
stepping, leaning, or sitting on the top surface.
Maintenance – Keep cooktop area clear and free from
I
combustible materials, gasoline, and other flammable vapors
and liquids.
Storage on the cooktop – Flammable materials should not be
I
stored on or near surface units.
Top burner flame size should be adjusted so it does not extend
I
beyond the edge of the cooking utensil.
Cleaning the Burners: Tips
The burners should be kept clean. Spillovers should be cleaned
immediately since they can clog the openings in the burners.
IMPORTANT: Before cleaning, make sure all controls are off and the
cooktop is cool. For more information, see the "Care and Cleaning"
section.
Remove the burner cap from the base. Clean the burner cap with
I
hot soapy water and then rinse it.
Remove the burner base and clean
I
the gas tube opening under the base.
Clean clogged burner ports with a
I
straight pin, needle or small-gauge
wire as shown. Do not use a wooden
toothpick or clean in the dishwasher.
Gently clean the igniter with a damp
I
cloth.
2
