- ページ 7
オーブン IKEA NUTID OV 9のPDF 取扱説明書をオンラインで閲覧またはダウンロードできます。IKEA NUTID OV 9 32 ページ。 Built-in oven
IKEA NUTID OV 9 にも: ユーザーマニュアル (20 ページ), ユーザーマニュアル (26 ページ), ユーザーマニュアル (12 ページ), 使用方法 (4 ページ), 商品説明シート (4 ページ), 取扱説明書 (20 ページ), マニュアル (20 ページ)
- 1. Table of Contents
- 2. Safety Information
- 3. Product Description
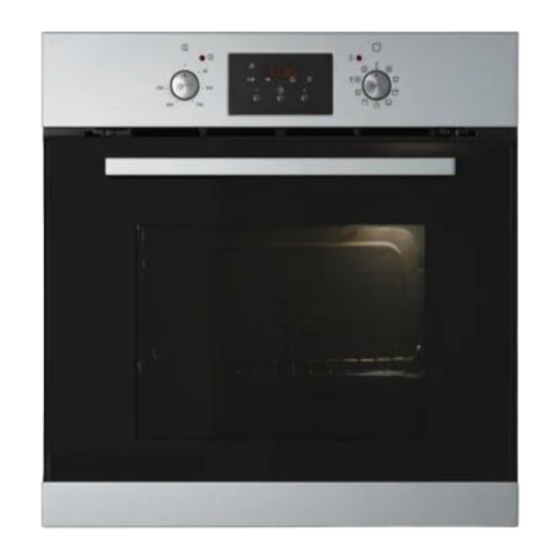
- 4. Control Panel
- 5. Daily Use
- 6. Cooking Tables
- 7. Cleaning and Maintenance
- 7. Refit Door
- 7. Replace Rear Lamp
- 8. What to Do if
- 9. Technical Data
- 10. Installation
- 11. Electrical Connection
- 12. Environmental Concerns
- 13. Electrical Connection for Great Britain and Ireland Only
- 14. Ikea Guarante
ENGLISH
Inserting wire shelves and other
accessories in the oven
The wire shelf and other accessories are
provided with a locking mechanism to
prevent their unintentional removal.
1. Insert the wire shelf horizontally, with the
raised part "A" upwards (Fig. 1).
2. Angle the wire shelf when it reaches the
locking position "B" (Fig. 2).
Fig. 1
Fig. 2
3. Return the wire shelf to the horizontal
position and push it in fully to "C"
(Fig. 3).
A
4. To remove the wire shelf proceed in
reverse order.
The other accessories, like the drip tray
and baking tray, are inserted in exactly the
same way. The protrusion on the flat surface
enables the accessories to lock in place.
B
Fig. 3
7
C