- ページ 8
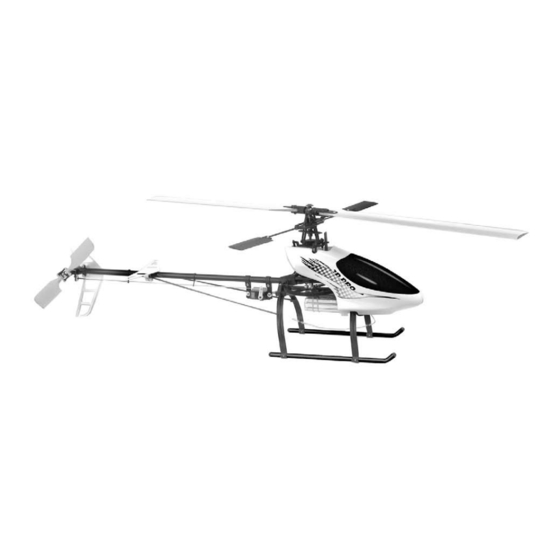
おもちゃ Century Helicopter Products Hummingbird Elite 3D ProのPDF 取扱説明書をオンラインで閲覧またはダウンロードできます。Century Helicopter Products Hummingbird Elite 3D Pro 10 ページ。
Century Helicopter Products Hummingbird Elite 3D Pro にも: 組立・取扱説明書 (12 ページ)

Section 9
BASIC HOVERING
Hovering
When all is set, ready and checked, it's time for the initial flight. Try setting aside a 5 foot diameter circle as a takeoff and landing pad.
Keeping the helicopter inside the landing are will help improve your training.
1. Turn the transmitter on first! Turn helicopter on (plugging in the battery) and stand behind the model about 10 feet away.
2. Always watch the nose of the helicopter, move the rudder left and the nose will move left.
3. Start by increasing the throttle slowly until the helicopter rises 1 foot off the ground then set it back down.
4. Repeat this process until you become comfortable with holding the model in the same spot for a few seconds then land it.
After some time at this you can increase the height slightly up to 2-5 ft. (be very careful not to fly too high) as you are practising taking off
and landing. This is the most basic but required skill for the beginner to learn. Above 2 feet training gear become ineffective.
The many types of hovering
It cannot be stressed enough that mastering the hovering skill is crucial to becoming a good helicopter pilot. As you progress in your
learning, always practise hovering until you are completely comfortable in holding the helicopter in any direction at any altitude.
1. Pilot view - helicopter facing away from you
2. Sideways - Looking at either side of the helicopter left and right
3. Nose in - nose pointing at you
Perfecting hovering enables you to learn all the types and styles of helicopter flying, forward flight, loops and rolls, 3D (aerobatic flying)
and anything you want to do with your helicopter as it can be set up for beginner through to expert. Lastly, have fun!
PRE-FLIGHT CHECKLIST
1. After turning the radio on, move each servo separately looking for unusual or excessive movement.
2. Inspect the main and tail rotor blades for damage. Never fly damaged blades.
3. Inspect the main and tail rotor linkage for play or binding.
4. Turn the main gear in both directions to feel if a problem is developing.
5. Check the electronics connections making sure everything is correct.
TRIM AND THROTTLE ADJUSTMENTS
Control Movement - All trimming of the Hummingbird should be done one click or detent of the subtrims at a time until it will rise without
moving left, right, forward or backward at a location without wind. Some tail rotation is normal at lift off until it is hovering. Start by lifting
the Hummingbird 3-6 inches at a time to practice lift off and landing.
All trim adjustments are to allow you to lift the helicopter
straight up and can be made one click or detent at a time
on the radio.
(1) Collective & Throttle: Slowly raise the throttle stick, the
helicopter should lift off at half stick. If it tends not to lift off
increase the hover pitch on the radio or increase the throttle
trim. If the helicopter lifts off before mid stick decrease these
settings. (collective present in CP model only.)
(2) Rudder: When the helicopter is ready to take off, make a
correction trim first then use the rudder stick to control the Left
& Right. Note, now is a good time to make a final adjustment
on the gyro.
(3) Elevator: If at hover the helicopter tends to move forward,
move the trim down, if it moves backward move the trim
upwards Use the elevator stick to control the Forward &
Backward.
(4) Roll (Aileron): If at hover the helicopter tends to move left,
move the trim right, if the helicopter moves to the right move
the trim left. Move the Aileron stick to control the slide of the
helicopter to the Right & Left.
8
The First Flight
