- ページ 5
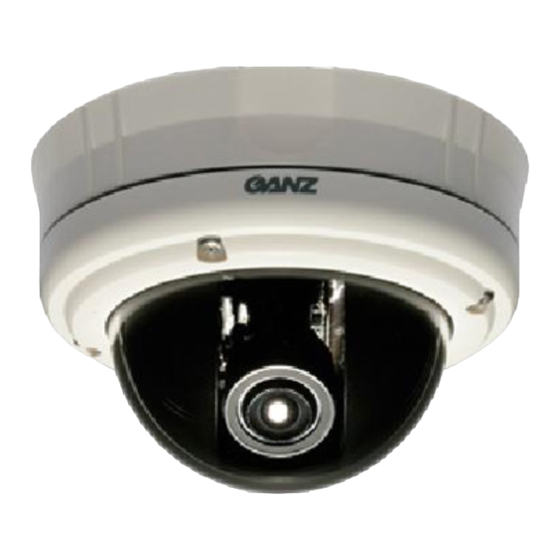
防犯カメラ Ganz ZC-DWT4039 NHAのPDF 操作マニュアルをオンラインで閲覧またはダウンロードできます。Ganz ZC-DWT4039 NHA 5 ページ。 Wide dynamic range
Installing the dome enclosure
1. Remove the dome cover
Use the supplied Torx driver to loosen (but not remove) the four cover screws.
The screws are captive and will be retained in the lid.
2. Use the template to mark and prepare the mounting area
The vandal resistant dome was designed to maintain their IP and NEMA ratings independent of
the install method chosen. Therefore, all mounting access positions are sealed until they are
ready to be used. For example when surface-mounting the housing, first knock out the screw
access holes that correspond to the template marks "T1". This can be done using a crosshead
screwdriver.
3. Open the required knock-out panel
Carefully drill (or tap out) either the base knock-out (E1) or internal side knock-out (E3) to the
size required to allow cable entry. When surface mounting and using the side knock-out (E3),
open the cut out (E4) within the outer ring to the required size by cutting away excess material
with a hole cutter, sharp knife or side cutters.
4. Mount the dome enclosure
Using one of the mounting schemes discussed overleaf (methods for mounting the enclosure),
fix the dome enclosure (and outer ring, if necessary) in place. When flush mounting or surface
mounting using the outer ring, ensure that the large
rubber gasket (E6) is in place under the lip of the dome
enclosure.
IMPORTANT: If the dome is being mounted externally
using the four base holes, use the supplied rubber
o-rings within each of the four mounting holes of the
dome base to ensure moisture resistant seals (see Fig. C
overleaf).
5. Connect the wiring
Feed the preconnected main lead (that terminates in
connections F1 and F2) through the knock-out hole and
connect it to your video out and power in cables. A
wire-ended adaptor lead (F8) is supplied for use with power supply cables that are not
terminated with an appropriate power connector (For 12 VDC operation: Connect the red lead
to +ve and the black lead to -ve. For 24 VAC connection, polarity is not important).
IMPORTANT: The power supply must be Class 2 certified.
IMPORTANT: If the dome is being mounted externally, use a suitable sealant around the cable
access hole to ensure a moisture resistant seal.
6. Fit the camera assembly
Connect the camera to the fly-connector (F4). For ZC-DWT4039 series camera only: also
connect the OSD lead (F6) between the camera and the middle socket of the smaller circuit
board.
Place the complete camera assembly (G1) onto the three mounting pillars within the enclosure.
Note: Gimbal screws are supplied with both the housing and the camera assembly (when
supplied separately), therefore, you should have three screws left over.
7. Remove the camera liner
Lift the camera liner (H1) from the chassis (H2) to provide full access to the camera.
8. Adjust the camera position and test
Rotate and pan the camera chassis to the required position and then tighten the camera chassis
locking screws.
Note: For specific camera adjustments (i.e. focusing and settings), please see the Camera
Sheet.
9. Replace the camera liner
Carefully fit the camera liner (J1) over the focused camera so that it is fully seated on the top
ring of the camera chassis (J2) and provides an unobstructed view for the camera lens.
10. Replace the dome cover
Replace the dome cover (four small internal ribs within the cover locate within four
corresponding index slots (E6) within the enclosure body; these restrict the lid to only four
possible orientations and ensure that the cover screw holes are correctly aligned). Use the
supplied Torx bit to tighten
the four cover screws - DO NOT OVERTIGHTEN.