- ページ 14
おもちゃ Jamara 00 7281 RTFのPDF インストラクションをオンラインで閲覧またはダウンロードできます。Jamara 00 7281 RTF 20 ページ。
Lieferumfang
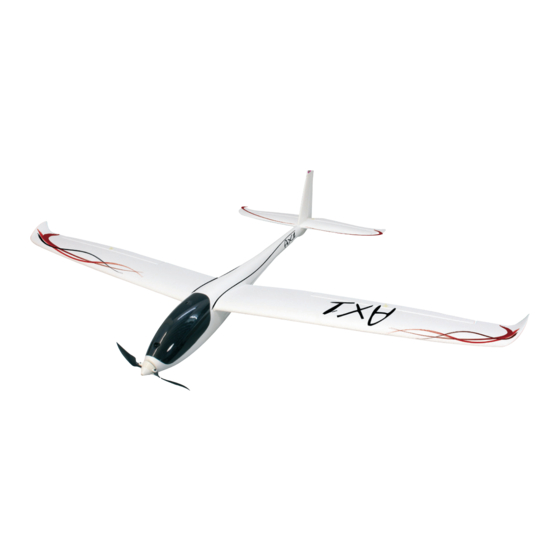
• Flugmodell aus EPO
weitgehend vormontiert
• Fernsteuerung CX 2,4 GHz
(nur RTF)
• Flugakku (nur RTF)
• Brushless Motor, Außenläufer
fertig montiert
• Brushless Regler fertig montiert
• 4 x 9 g Servos fertig montiert
• Balancer-Lader für
12 V Stromquelle (nur RTF)
• Diverse Kleinteile
• Anleitung
2
Hinweise:
1. Laden Sie den Akku nur mit einem Ladegerät, das mit
einem Balancer-Anschluss ausgestattet ist oder
schalten Sie einen Balancer zwischen das Ladegerät
und den Akku.
2. Nach dem Flug klemmen Sie den Akku ab und ent-
nehmen Sie ihn aus dem Modell und lassen ihn
abkühlen.
3. Laden Sie den Akku unter normalen Temperatur-
bedingungen, decken Sie den Akku nicht ab, damit
die entsthaende Wärme gut abgeführt werden kann.
4. Lassen Sie den Akku und das Ladegerät während des
Ladens nicht unbeaufsichtigt. Stoppen sie den Lade-
vorgang sofort, wenn sich der Akkus zu stark
erwärmt oder aufbläht. Gehen Sie vorsichtig mit dem
Akku um, beachten Sie die Hinweise des Herstellers
Ihres Ladegeräts, damit Ihr Akku eine möglichst lange
Lebensdauer hat.
1
2
3
4
14
Laden des Akkus
1 Stromanschluss
2 Balancer-Ladekabel
Das Modell benötigt einen 3-zelligen LiPo-
Akku mit einer Nennspannung von
7,4 V. Dieser Akku hat zwei Anschlüsse,
einen Balancer- und einen Hochstroman-
schluss.
Note:
1. Always charge the battery using a charger which is
2. On landing, disconnect the battery and remove it
3. Do not charge a hot battery and do not place
4. Never leave the battery unattended when charging.
Anschlussschema
1. Antenne
8
2. Empfänger
3. Motor
7
4. Flugregler
5. LiPo Flugakku
6
6. Seitenruderservo
7. Höhenruderservo
8. Querruderservos
5
Box contents
• Model of EPO
mostly pre-assembled
• Transmitter CX 2,4 GHz
(only RTF)
• Battery pack (only RTF)
• Brushless motor, outrunner,
installed
• Brushless controller installed
• 4 x 9 g servos installed
• Balancer for 12 V power source
(only RTF)
• Accessories
• Instructions
Charging the battery
1 ESC Plug
2 Balancer Socket
The model uses a 3 cell LiPo flight pack
with a nominal voltage of 7,4 V.
The pack is fitted with a connecter for the
ESC and a balancer socket.
fitted with a balancer and connect the battery to the
charger via the balancer.
from the model to allow it to cool.
anything over the pack when charging to allow
cooling air to circulate around it.
Stop charging immediately if the pack gets hot or
starts to swell. Treat LiPo battery with caution and
always follow the instructions which are included
with the charger to ensure that your battery enjoy a
long life.
Connection Diagram,
Recever
1. Antenna
2. Receiver
3. Motor
4. ESC
5. LiPo battery
6. Rudder servo
7. Elevator servo
8. Aileron servos