- ページ 8
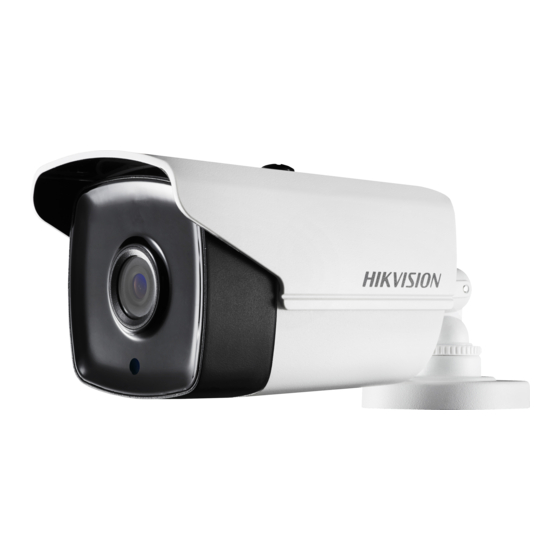
DVR HIKVISION DS-2CE56D8T-IT3EのPDF ユーザーマニュアルをオンラインで閲覧またはダウンロードできます。HIKVISION DS-2CE56D8T-IT3E 17 ページ。 Bullet & turret camera
HIKVISION DS-2CE56D8T-IT3E にも: ユーザーマニュアル (15 ページ), クイック・スタート・マニュアル (17 ページ)
1. Paste the drill template (supplied) to the place
where you want to install the camera.
2. Drill screw holes on the ceiling/wall according to the
drill template.
3. Take apart the junction box, and align the screw
holes of the camera with those on the Junction
box's cover.
4. Install the camera on the junction box's cover.
Figure 2-5 Install the Camera on the Junction Box's
5. Attach the junction box's body to the ceiling/wall by
aligning the screw holes of the junction box.
6. Secure the junction box's body on the ceiling/wall
with supplied screws.
Figure 2-6 Secure the Junction Box's Body on the
7. Route the cables through cable holes, or side
openings.
8. Combine the junction box's cover with its body.
Figure 2-7 Combine the Junction Box's Cover with its
Figure 2-4 The Drill Template
Wall/Ceiling
Cover
Body