- ページ 6
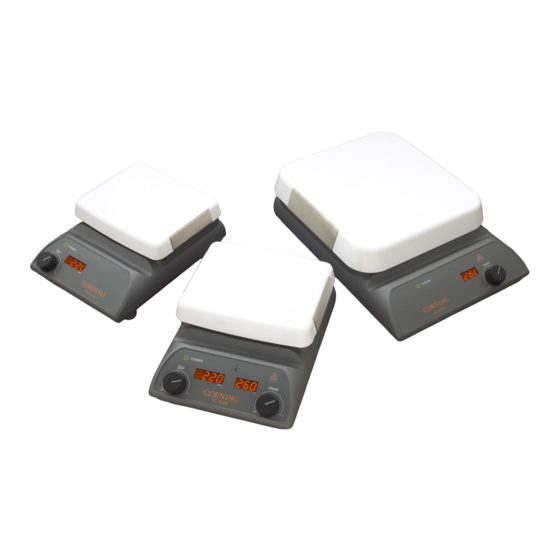
ラボラトリー機器 CORNING PC-410DのPDF 取扱説明書をオンラインで閲覧またはダウンロードできます。CORNING PC-410D 11 ページ。 Digital hot plates, stirring hot plates, stirrers, and external temperature controller
CORNING PC-410D にも: 取扱説明書 (8 ページ), 取扱説明書 (14 ページ), 取扱説明書 (14 ページ)

Heating Instructions
(without External Temperature Controller)
PC-400D, PC-420D, PC-600D, and PC-620D
1 Fill vessel with solution to be heated.
2 If using a PC-420D or PC-620D and the stirring function, place stir
bar into vessel.
3 Place vessel in the center of the top surface.
4 Turn Heat Control Knob until the Heating Temperature Display
shows the desired temperature. The temperature setting can be
adjusted in 5°C increments.
- Flashing Display: The number shown on the Heating Temperature
Display will F F L L A A S S H H when actual heating temperature is not at the set
temperature.
- Constant Display: The number shown on the Heating Temperature
Display will remain constantly ON when the actual heating
temperature is at the set temperature.
- Hot Top Indicator: The Hot Top Indicator will be O O N N at all times
when the temperature of the top surface is too hot to touch (greater
than approximately 60°C).
- The Hot Top Indicator will F F L L A A S S H H when the Heat Control Knob is
turned OFF, but the top surface is still too hot to touch.
- The Hot Top Indicator will be OFF when the temperature of the
top is less than approximately 60°C.
Caution: The Hot Top Indicator will turn OFF when the power cord is
disconnected from the product even if the temperature of the top surface
is still too hot to touch.
Heating Instructions
(with External Temperature Controller, Corning Catalog No. 6 795 PR)
PC-400D, PC-420D, PC-600D, PC-620D, and 6795PR
1 Connect the External Temperature Controller to the connector on
the back of the unit.
- Temperature Probe in Use Indicator: This will illuminate when
External Temperature Controller is properly connected.
2 Fill vessel with solution to be heated.
3 If using a PC-420D or PC-620D and the stirring function, place stir
bar into vessel.
4 Place vessel in the center of the top surface.
6
5 Insert the tip of the External Temperature Probe into the solution.
- The tip should be located in the center of the vessel and at approxi-
mately one-half of the depth of the solution.
6 Secure the position of the External Temperature Controller by using a
ring stand/support rod and clamp.
- Assure that the cable of the External Temperature Controller does
not come into contact with the heating surface.
7 Turn Heat Control Knob until the Heating Temperature Display
shows the desired heating temperature.
- Flashing Display: The number shown on the Heating Temperature
Display will F F L L A A S S H H when the actual heating temperature is not at
the set temperature.
- Constant Display: The number shown on the Heating Temperature
Display will remain constantly ON when the actual heating temper-
ature is at the set temperature.
- Hot Top Indicator: The Hot Top Indicator will be O O N N at all times
when the temperature of the top surface is too hot to touch (greater
than ~60°C).
- The Hot Top Indicator will F F L L A A S S H H when the Heat Control Knob is
turned OFF but the top surface is still too hot to touch.
- The Hot Top Indicator will be OFF when the temperature of the
top is less than ~60°C.
Caution: The Hot Top Indicator will turn OFF when the power cord is
disconnected from the product even if the temperature of the top surface
is still too hot to touch.
Heating Operation Principles
The heating element and a temperature sensor are located just beneath
the ceramic top surface of the product. The microprocessor controlled
heat, generated by the heating element, is based upon the sensor tem-
perature and the value set on the Heating Temperature Display. When
the sensor temperature is not within range of the value set on the dis-
play, the display will F F L L A A S S H H . When the sensor temperature is within
range, the value displayed will remain constantly O O N N .
The Heating Temperature Display does not indicate the actual tempera-
ture of materials placed on top of the product or the actual temperature
of the ceramic top surface.
7
