- ページ 3
DVR ALIBI ALI-HVR3004HのPDF クイック・セットアップ・マニュアルをオンラインで閲覧またはダウンロードできます。ALIBI ALI-HVR3004H 8 ページ。 Ali-hvr3000h series 4/8/16-channel 960h hd-tvi hybrid+ dvr

Installing the System
Step 1. Getting Started: Unpacking the Equipment
What's in the box
Your system includes:
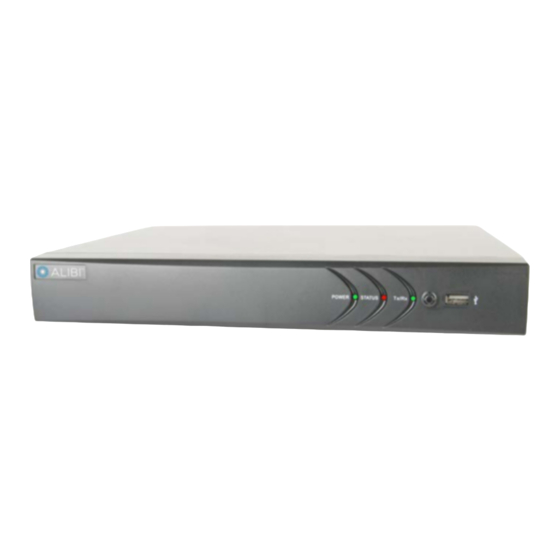
ALI-HVR3000H Series DVR
•
Remote Control
•
USB mouse
•
HDMI cable
•
Power adapter for DVR
•
CD with documentation
•
This Quick Start Guide
•
Remove the equipment from its packaging and place it on a flat, clean surface. Inspect each item. If any visible damage is present, contact
your supplier for a replacement. Verify that your order is complete.
What you need
Although each security system installation is different, most require the following items not included with your system components:
Cameras and cables compatible with the DVR. The Video in ports on the backpanel support most analog CCTV camera brands and Alibi
•
HD-TVI analog cameras
IP cameras installed on the Ethernet network (LAN) that associated with the DVR must be Alibi IP cameras.
•
Tools to install the cameras and route power and video cables
•
Fasteners to attach the cameras to the mounting surfaces
•
VGA or HDMI compatible computer monitor to connect to the DVR. (An HDMI cable is provided.)
•
Uninterruptible power supply (UPS) is recommended. This device is used to ensure system stability during voltage surges, sags, and
•
outages. If a UPS is not available, a power strip with strong surge protection is highly recommended.
Step 2. Install the DVR and monitor
Installing an HDD in the DVR
If you purchased your DVR without an internal HDD, or you want to install an additional HDD (ALI-HVR3016H only), follow the
NOTE
procedure in the ALI-HVR3000H DVR User Manual before continuing. An HDD must be installed in the DVR before it can be
used.
For the following steps, refer to the back panel photo above for the location of connectors.
1.
Place the DVR in a location that is secure, well ventilated and clean. The DVR should be positioned such that the backpanel connectors
are accessible and the ventilation holes on the sides are not blocked.
2.
Install and setup your monitor in accordance with the instructions provided with the monitor. Do not power it on at this time.
3.
Cable the HDMI or VGA connector to your monitor's VGA or HDMI input. The HDMI interface provides the best performance.
4.
Plug the mouse into the USB connector on the front or back of the DVR.
3
www.Observint.com
5.
If you plan to access your DVR remotely, or configure your DVR to transmit alerts, email, etc. to external servers, plug a drop cable
from your local area network (LAN) into the RJ-45 LAN connector on the back of the DVR. (By default, the DVR automatically acquires
network settings using DHCP.)
6.
Connect the power cord to the power connector on the back panel of the DVR, and then into a UPS (preferred) or surge protector.
NOTE
Do not power on the DVR at this time.
Step 3. Install camera
Install your security cameras as needed to support your security requirements. Always refer to the documentation provided with the camera
for installation instructions.
Step 4. Connecting it together – initial system setup
1.
Plug the coaxial cables from the cameras into the BNC camera input connectors on the back of the DVR.
2.
Power on the DVR using the power on / off (I/O) switch on the back panel.
3.
Power on the monitor.
Some monitors have multiple inputs such including VGA ,HDMI, BNC, etc. If you are using this kind of monitor, configure your
NOTE
monitor to display the input connected to your DVR (HDMI or VGA).
4.
Power on your cameras.
Step 5. Using the Wizard for basic configuration setup
When the DVR is powered on, an Alibi logo splash screen appears within 2 minutes.
© 2014 Observint Technologies. All rights reserved.
