- ページ 5
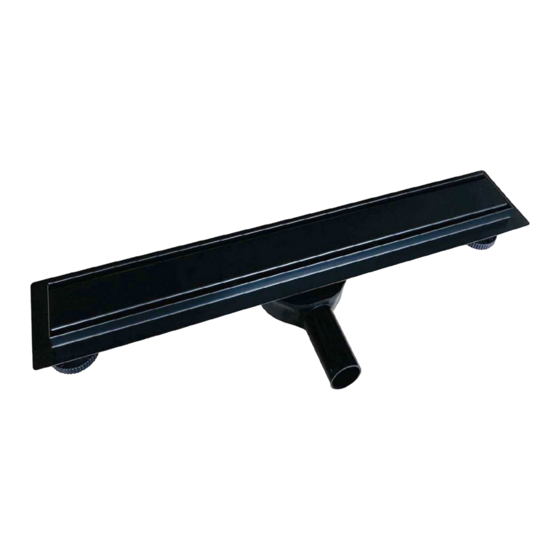
バスルーム設備 BERNSTEIN 19572のPDF 組立説明書をオンラインで閲覧またはダウンロードできます。BERNSTEIN 19572 11 ページ。 Shower drain

FLEXGT02
FLOW QUICKLY
• 34 l / min. with strainer
Different shower channel designs
• 42 l / min. without strainer
(Slot perforated plate, tileable and much more)
• water seal height is 20 mm
various length variants selectable.
• BS EN1253-2015
• Stainless steel 304
• High stronger PP drain
• Outlet as DN 40
• Standard width is 7 cm
• Install height is 100 mm
• Install under 12 mm
ASSEMBLY
1. Before installing the shower drain, please remove the grid in order to avoid damage. Further protection is afforded by
applying adhesive tape on the top edge of the drain.
2. Make sure that no impurities (mortar, etc) can get into the drain during the assembly and installation work.
3. We recommend to use the sandpaper to roughen the surface of the side and bottom sections of the drain, then
degreasing agent to achieve better adhesion to the floor.
4. Connect the drain to the waste pipe pushing the reduce-piece 40mm as far as possible over the 40mm pipe of the
drain (the rubber washer ensures a waterproof connection) and the other side (50mm) to the waste-pipe, using glue.
5. The drain needs to be connected to the ground conductor. There are several anchors where this can be realised.
6. Level the drain in all directions. This is ver y important to ensure a perfect functioning. If not levelled correctly it is
possible the smell of the sewer will enter the bathroom..
7. Fill in the space under the drain and around it with cement mortal, taking notice of the thickness of the tiles.
8. While laying the tiles, it is necessar y to make sure the gradient in the shower area is always directed towards the
shower drain. Place the tiles at least 1 to 2mm higher than the upperside of the drain to avoid pooling along the drain.
9. After tiling, seal the tiles to the drain with a silicon sealant, complying with the recommendations of the manufacturer.
For best results make sure the silicon joint has the same width as the joint between the tiles.
10. R emove any cement or jointing agent residue carefully using a plastic wool/sponge.
11. Place the grid in the drain and remove the protective film of the grid just before the bathroom will be in use.
The siphon can be rotated 360 °.
The channel inclination is 6 mm.
5
