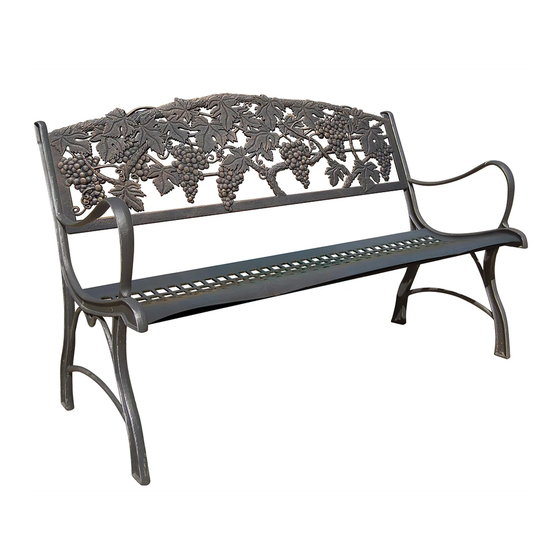
屋外用家具 GARDECO Cast Iron BenchのPDF 組み立てをオンラインで閲覧またはダウンロードできます。GARDECO Cast Iron Bench 2 ページ。

Cast Iron Bench
Thank you for your purchase of this bench of out door
furniture and accessories. Every step has been taken to make
this the best looking longest lasting bench in the market
today.
D
Note: While the bench can be assembled by one person, a
second set of hands will help considerably.
Parts List
A.
Bench back
B.
Bench seat
C.
Side frames
D.
Side frame brace
Hardware
Bolts
Flat washers
Lock nuts 8
Side frame brace bolts
Assembly
1
2
1
1
2
1
8
8
Gardeco Limited, PO Box 5500, Kidderminster, Worcestershire, DY11 9BB, UK,
2
www.gardeco.co.uk
Tel: 0870 234 0003 or +44 1562 637034 Fax 0870 234 0017 or +44 1562 637596
E-mail: [email protected]
Gardeco USA- 12550-B Battery Dantzler CT, Chester Virginia 23836, USA,
www.gardeco.us, Tel 804-357-0057
Gardeco France, www.gardeco.fr, [email protected]
1.Have an assistant hold the bench back (A)
in place and line up the slots with the slots in
one of the side frame units (C). Insert a bolt
through each hole from the outside of the side
frame and secure loosely with a flat washer,
then a lock washer and finally a lock nut.
Repeat on the opposite end.
Warning: If this bench is left outside
in the rain it WILL rust.
2. Tilt the assembled side frame and seat
back forward to rest face down on the floor.
Have an assistant position the bench seat (B)
to align with the seat slots on the side frame.
Insert a bolt through each hole from the
outside of the side frame and secure loosely
with a flat washer, then a lock washer and
finally a lock nut. Repeat on the opposite end.
Stand the entire unit back up and make
certain the all parts are aligned and sit square.
The final step is to tighten all 8 nuts. Do not
sit on the unit until all hardware has
been tightened.
Warning! Do not EVER move this bench without
picking up BOTH ends. Dragging or pushing the
bench across any surface will result in "chattering"
which can fracture cast iron and cause immediate
or future breakage.
