- ページ 6
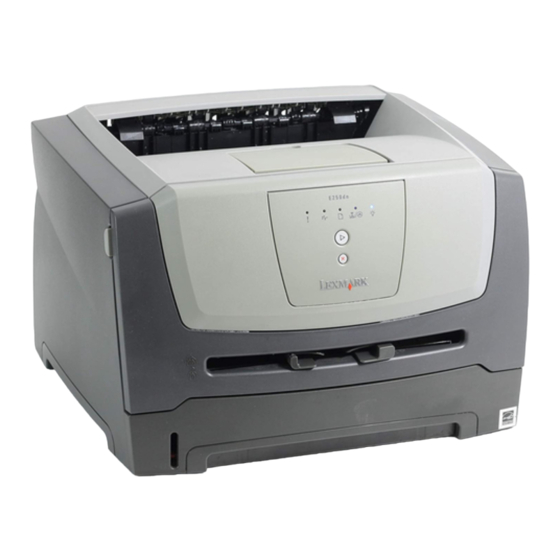
プリンター Lexmark 250d - E B/W Laser PrinterのPDF 取扱説明書をオンラインで閲覧またはダウンロードできます。Lexmark 250d - E B/W Laser Printer 6 ページ。 Brochure
Lexmark 250d - E B/W Laser Printer にも: インストール (2 ページ), クイック・リファレンス (19 ページ), 仕様 (4 ページ), 仕様 (4 ページ), 仕様 (2 ページ), クイック・スタート・マニュアル (2 ページ)

UNINET IMAGING INC. • BROTHER 1240/1650 • DISASSEMBLING THE TONER CARTRIDGE
UNINET IMAGING INC. • BROTHER 1240/1650 • ASSEMBLING THE TONER CARTRIDGE
RESETTING THE LEXMARK E350/352/450 MACHINES (DISPLAY)
1. With the printer off and the Press and hole the SELECT and BACK buttons, turn the printer on.
2. Press the right arrow until "RESET PC CNT" appears on the display.
3. Press the SELECT button. "=RESET" appears on the display.
4. Press SELECT again. "RESETTING PC CNT VALUE" appears on the display
5. Turn the printer off, and on. The counter is reset!
You can confirm the counter was reset by printing a "menu settings page".
RESETTING THE LEXMARK E250 MACHINES (NON DISPLAY)
1. Turn off the printer.
2. Open the front cover.
3. Press and hold the Continue button (Big silver button with Diamond shape symbol) and turn the printer on.
4. Hold the button down until the last light (error light) is on solid, release the button and close the front cover.
5. When the cover is closed, all the top 3 lights should be on solid.
6. Press the cancel button (triangle symbol) 4 times very slowly until you see the toner low light (second light from
top) on solid.
7. Press the continue button and wait until you see the light sequence.
8. Press the cancel button and wait until you see the light sequence.
9. Finally power off the printer and power it back on to exit the configuration mode.
This resets the drum count on the printer (called the PC count by Lexmark).
PRINTING TEST PAGES E350/450 SERIES
1. Press the "Key" button on the control panel.
2. Press the "Down arrow" until REPORTS appears on the display.
3. Press the Select button.
4. Press the "Down Arrow" until the MENU SETTINGS PAGE, NETWORK SETUP PAGE, or PRINT FONTS appears on the
display.
PRINTING TEST PAGES E250 SERIES
1. Make sure the printer is READY.
2. Press the "Continue" button.
3. Both the menu settings page and the network setup page will print out.
CLEANING THE PRINTHEAD GLASS
Open the front cover and remove the toner and drum cartridges. Locate the glass printhead lens in a recess above
the cartridge bay. Wipe the glass down with a lint free dry cloth. Do NOT use any type of chemicals on the glass. Re-
install the cartridges and close the cover.
REPETITIVE DEFECT CHART
38.2mm
PCR
47.8mm
Developer Roller
51.7mm
Transfer Roller
79.8mm
Upper fuser Belt
95.5mm
Lower fuser Roller
96.7mm
OPC Drum
MM
SU
IT
3232 West El Segundo Blvd., Los Angeles, California 90250 USA
© 2008 UniNet Imaging Inc. All Trademark names are property of their respective owners. Product brand names mentioned are intended to show compatibility only. UniNet Imaging does not warrant downloaded information.
LEXMARK E 250/350/450 DRUM UNIT REMANUFACTURING INSTRUCTIONS
•
Ph +1 310 280 9620
•
Fx +1 310 838 7294
•
•
www.uninetimaging.com
