- ページ 3
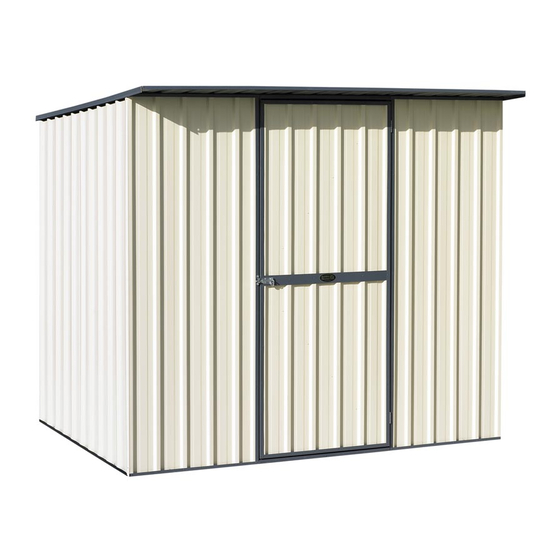
屋外倉庫 GARDEN MASTER GM2315のPDF 組立説明書をオンラインで閲覧またはダウンロードできます。GARDEN MASTER GM2315 8 ページ。 Sloping roof shed
GARDEN MASTER GM2315 にも: 組立説明書 (8 ページ)

STEP 1:
BACK WALL
1.
Join 3
sheets together with 2 rivets through the overlapping
A
ribs making sure the ends of the sheets are flush.
2.
Cap sheeting with
G
and bottom. This will finish 10-15mm shorter than the sheet.
3.
Rivet the channels through the end ribs and
every 2nd rib between.
4.
Make sure you put at least 1 rivet
per sheet up through the underside
of the channel into the pan
of the sheet.
CHANNELS WITH CUTOUTS
The cutouts go to the inside of the panel to
allow easy fitment of the end walls
on assembly. Note top and bottom
channels have different cutouts!
TOP
CHANNEL
STEP 2:
ROOF
1.
Join 3
1830mm sheets together, same
C
as the back.
2.
Cap sheeting with
F
3.
Rivet the channels at every second rib but
not the corners at this stage.
4.
Place the short flange of the 'L' on top of
the rib at one end. Make sure ends are flush
with sheeting (diagram 1) and put one rivet
in the centre to hold the 'L'. Rivet the corners
through the channels and one more between
the corner and the centre rivet. Perform
the same at the other end. 5 rivets
for each 'L'.
WATCH OUR
SHED ASSEMBLY
VIDEO GUIDE
HERE
channels putting the cutouts top
BOTTOM
CHANNEL
2255mm channels.
F
If you need advice, call us
G
H
C
FREE
on
0800 807 433
If you choose to vary from these instructions your warranty will be impaired.
YOU WILL NEED:
3 x 1830mm sheets for the back.
A
1 x 2255mm top channel
G
1 x 2255mm bottom channel
GARDEN MASTER TIP
Put extra rivets in for high wind areas,
particularly on the underside.
A
YOU WILL NEED:
C
3 x 1830mm sheets
F
2 x 2255mm channels
H
2 x 1830mm 'L's
F
or email us at [email protected]
G
WATCH OUR
SHED ASSEMBLY
VIDEO GUIDE
HERE
H
3
