- ページ 2
ハンドヘルド Janam XT2WBのPDF クイック・スタート・マニュアルをオンラインで閲覧またはダウンロードできます。Janam XT2WB 4 ページ。 Handheld terminal
Installing/ Removing Micro SD card
Installing Micro SD card
1. Remove battery from
device and insert Micro SD
card.
2. Insert battery again after
installing Micro SD card.
Removing Micro SD
card
1. Press Micro SD card
gently and slide it out.
2. Remove Micro SD card
from device.
PUSH
3. Insert battery again.
<Caution>
•
Micro SD card is not
•
Due to installing/ removing
standard/optional
battery, save the working
accessory. Do purchase it
data first and then install or
from distributor.
remove Micro SD card.
•
Device supports storage
extension upto 32GB with
Micro SD card.
•
Turn off the device before
removing battery.
Getting Started
Turning the device on and off
On- Press power key on upper right of device to turn on.
After few seconds, device will turn on.
Off- Press and hold power key for a while till you and
tap power off on the screen options.
Set up
Start with setting language input, google account, GPS,
etc when the device is on for the first time.
Device works without SIM card and device functions
are available through WLAN network connection and
google account registration.
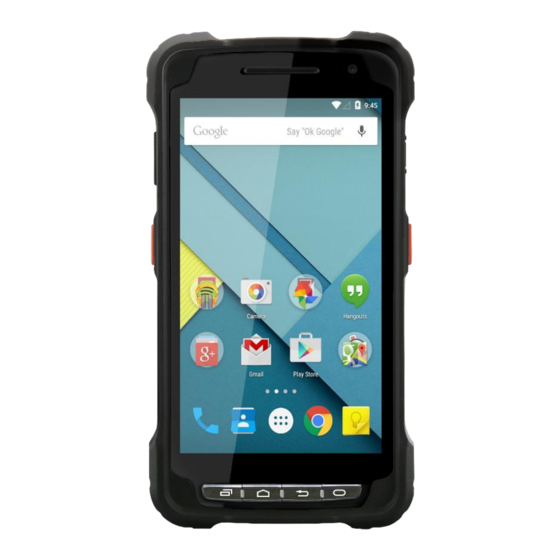
Home screen items
Status bar
• Displays status/notification
• Tap and drag down to show notification
panel
Browser bar
1
Tab and google search by text
2
Tab and google search by voice
Home screen
• Tab and slide right/left to go other screens
• Tab icons to open applications/ folders
Favorites shortcut
• Press and hold to set/move applications
Opens apps window
Charging the battery
1. Insert plug on AC/DC Adaptor and connect to electric socket to
charge.
2. LED indicator on upper left of device shows red light while
charging and it turns to green light when the device is fully
charged.
<Caution>
• Use only items provided in your purchase for charging.
• You can also charge the device with optional accessory,
cradle.
Scanning
Enable/ disable Scan Wedge
1. Tab status bar on the
top and drag to open
notification panel.
2. Tab Scan Wedge to
enable/ disable scanner.
3 If Scan Wedge is set
disabled, scanner is at
same status.
Enabled scanner icon
Standard accessory
5V 2A AC/DC Adaptor
plug
Battery (3000mAh)
LCD
protection
film
Stylus pen with Tether
Wrist Strap
Scanning
Testing barcode scanner
1. Execute Demos
application on home
screen.
2. Tab ScanDemo
open.
3. Press both scan keys
at once or any of scan
key on the device to scan
barcode.
4. Scanned barcode data
will show on screen as on
the picture left.
Point the scanning beam at the center of barcode and
keep scanning angle vertical to it.
Scanning range varies according to bar code size so
keep minimum distance for small barcode and further
distance for bigger one.
Optional accessary
SSC(Single Slot Cradle)
4SC(4 Slot Cradle)
4SBC(4 Slot Battery Charger)
Extended Battery(4000mA)
I/O USB Sync cable
Scanning: aiming pattern
Good: Well aimed
So so: aimed a bit below
but still readable
to
Poor: aimed a bit one sided
but still readable.
Bad: aimed diagonal,
cannot read
Bad: aimed too one sided
to read, cannot read
Bad: aimed vertical, cannot
read