- ページ 4
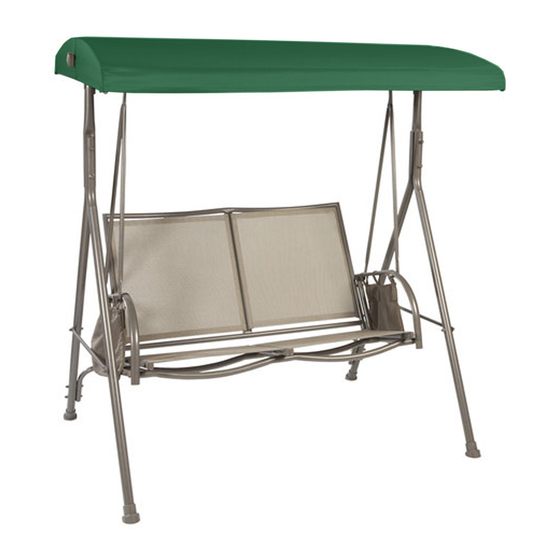
ベビースイング Garden Treasures Living SS-909E-1NのPDF ユーザーマニュアルをオンラインで閲覧またはダウンロードできます。Garden Treasures Living SS-909E-1N 8 ページ。 2 person steel sling swing
SAFETY INFORMATION
Assemble your swing on a soft, non-abrasive surface, such as carpeting, to avoid damage. The
swing is heavy. Handle with care. Two adults may need to assemble. Caution: Recommended
maximum sitting weight for the swing is 400 lbs.
PREPARATION
Before beginning assembly of product, make sure all parts are present. Compare parts with package
contents list and diagram above. If any part is missing or damaged, do not attempt to assemble the
product. Contact customer service for replacement parts.
Estimated Assembly Time: 30 minutes
Tools Required for Assembly: two Allen wrenches, open hex wrench and touch up paint (provided)
ASSEMBLY INSTRUCTIONS
FRAME ASSEMBLY
1)
Align the two holes at the top of one Front
Leg (B) with the two holes at one end of the
Top Frame Bar (A). Insert an M8 x 95 L Bolt
(FF) through an M8 Washer (JJ), through a
leg hole and through (A). Align a Back Leg
(C) on the other side of the top frame bar
and continue the bolt through (C), through
another (JJ) and an M8 Nut (HH). Do not
tighten completely. Repeat this procedure
for the adjacent hole, and to attach the
other two legs at the other end of (A).
See Fig. 1.
2)
Align the holes of a Leg Crossbar (E) with
the holes on the front and back legs at one
end of the frame. From the outside, insert
an M6 x 55 L Bolt (CC) through (E), through
a Plastic Washer (KK), through the leg,
through an M6 Metal Washer (II) and into
an M6 Nut (GG). Do not tighten completely.
Repeat this procedure for all four
crossbar-to-leg connections. See Fig. 2.
3)
Align the holes of the Back Crossbar (D) with
the holes in the two (C). For each hole, insert
an M6 x 70 L Bolt (DD) through (C), through
the back crossbar (D), through an M6 Metal
Washer (II), and into (GG). Do not tighten
completely. See Fig. 3.
Fig. 1
JJ
HH
JJ
FF
QQ
OO
B
E
CC
NN
PP
KK
GG
NN
II
DD
Fig. 2
Hardware Used
Part
Description
M6 x 55 L bolt
CC
M6 x 70 L bolt
DD
M8 x 95 L bolt
FF
M6 nut
GG
M8 nut
HH
M6 metal washer
II
M8 metal washer
JJ
6mm plastic washer
KK
M6 bolt cap
NN
M8 bolt cap
OO
M6 nut cap
PP
M8 nut cap
QQ
A
C
Fig. 3
D
PP
GG
II
Quantity
x 4
x 4
x 4
x 8
x 4
x 8
x 8
x 4
x 8
x 4
x 8
x 4
Picture