- ページ 6
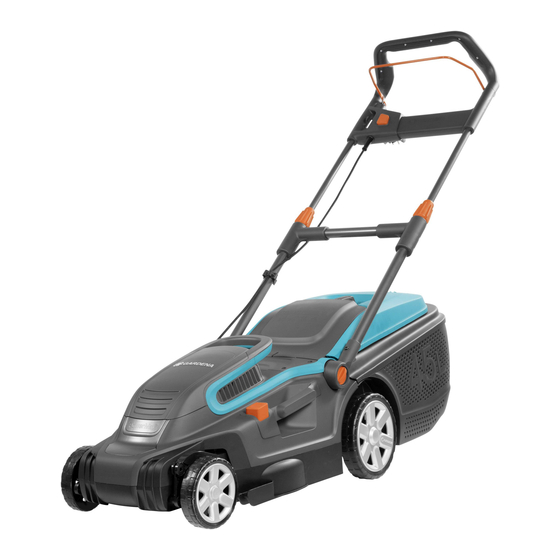
芝刈り機 Gardena PowerMax 1800/42のPDF 取扱説明書をオンラインで閲覧またはダウンロードできます。Gardena PowerMax 1800/42 10 ページ。 Electric lawnmower
Gardena PowerMax 1800/42 にも: 取扱説明書 (15 ページ), 取扱説明書 (15 ページ)
Do not pull on the cable to disconnect any of the plugs.
Use only on AC mains supply voltage shown on the product rating label.
Our products are double insulated to EN 60335. Do not connect an earth
to any part of the product.
Check the working area for hidden cables.
Do not use for pond care or close to water.
Personal safety
DANGER! Risk of suffocation!
Small parts can be easily swallowed. There is also a risk that the polybag
can suffocate toddlers. Keep toddlers away when you assemble the
product.
Do not use in explosive atmosphere.
Never operate the product when you are tired, ill or under the influence of alcohol,
drugs or medicine.
Do not overload the mower.
Use gloves, wear slip resistant shoes and wear eye protection.
Do not use under wet conditions.
Do not disassemble the product further than the delivery status.
Only start the mower with an upright standing handle.
Use the handles carefully.
Safety Cut-Out
The engine is protected by a Safety Cut-Out which is activated when the blade
becomes jammed or if the engine is overloaded. When this occurs, stop and
disconnect the product from the mains. The Safety Cut-Out will only reset when
you release the start/stop lever. Clear any obstruction and wait for a few minutes
for the Safety Cut-Out to reset before you continue to use the product.
2. ASSEMBLY
DANGER! Risk of injury!
Cut injury when the mower starts accidentally.
v Wait for the blade to stop, disconnect the mower from the
mains and use gloves before you assemble the mower.
To assemble the handle [ Fig. A1 ]:
1. Push the handle
(1)
into the openings
Make sure that the handle
(1)
is completely in place and the
handle hole is inline up with the holes in the mower.
(3)
2. Put both screws
in the holes in the mower.
(3)
3. Tighten both screws
with a screwdriver.
Make sure that the screws
(3)
To attach the cable to the handle [ Fig. A2 / A3 ]:
(4)
1. Attach the cable
to the handle with the clamps
Make sure that the cable is not locked between the handle and
the mower.
2. Turn the lock
(S)
anti-clockwise until the strut audibly locks into place.
To assemble the grass box [ Fig. A4 ]:
(6)
1. Connect both parts
of the grass box until the connections audibly
engage.
Make sure that all connections are engaged.
2. Put the cover
(7)
on the grass box.
Make sure that the cover aligns to the grass box.
(7)
3. Push the cover
on the grass box until the connections audibly
engage.
Make sure that all connections are engaged.
3. OPERATION
DANGER! Risk of injury!
Cut injury when the mower starts accidentally.
v Wait for the blade to stop, disconnect the mower from the
mains and use gloves before you adjust or transport the
mower.
To connect the mower [ Fig. O1 ]:
DANGER! Risk of electric shock!
To avoid damage to the plug
must be inserted into the cable lock
v Before you operate insert the extension cable
lock
(10)
.
(2)
in the mower.
are completely tightened.
(5)
.
(8)
the extension cable
(10)
.
(9)
into the cable
1. Connect the extension cable
2. Loop the extension cable
pull tight.
3. Connect the extension cable
To start the mower [ Fig. O2 ]:
DANGER! Risk of injury!
Risk of injury if the mower does not stop when you release
the start lever.
v Do not bypass the safety devices or switches. For example do
not attach the start lever to the handle.
To start:
The product is fitted with a two-handed safety device (start lever
and safety interlock
on by accident.
1. Push the safety interlock
with the other hand.
The mower starts.
2. Release the safety interlock
To stop:
v Release the start lever
The mower stops.
To adjust the handle length [ Fig. O3 ]:
The handle length can be adjusted to your body height.
1. Loosen both orange nuts
2. Adjust the handle
3. Tighten both orange nuts
To adjust the cutting height [ Fig. O4 ]:
The cutting height can be adjusted from 20 – 60 mm in 5 positions.
1. Push the adjust button
2. Hold the adjust lever
3. Release the adjust lever
To use the mower with the grass box [ Fig. O5 ]:
DANGER! Risk of injury!
Cut injury when the blade turns or the mower starts
accidentally.
v Wait for the blade to stop, disconnect the mower from the
mains and use gloves before you open the protective flap.
v Do not put your hands in the discharge opening.
1. Lift the protective flap
2. Put the grass box into the mower by the handle
Make sure that the grass box is securely connected.
3. Start the mower.
The level indicator
mowing the grass box is full.
4. Stop the mower.
5. Lift the protective flap
6. Remove the grass box by the handle
7. Empty the grass box.
Tips to use the mower:
If grass residue is left in the discharge opening, pull the mower backwards
about 1 m so that the grass residue can drop out downwards.
To produce a well-maintained lawn, we recommend to cut the lawn
regularly once a week if possible. The lawn becomes denser if you cut
it frequently.
After relatively long cutting intervals (holiday lawn), first of all cut in one
(9)
direction with the highest cutting height and then cut in the crosswise
direction with the required cutting height.
If possible, only cut the grass when it is dry, if the grass is damp, the cut-
ting pattern will be uneven.
(9)
(8)
to the plug
.
(9)
, insert the loop into the cable lock
(9)
into a 230 V mains socket.
(15)
) to prevent the product from being turned
(15)
with one hand and pull the start lever
(15)
.
(14)
.
(16)
.
(1)
to the required length.
(16)
again.
(18)
.
(19)
to adjust the cutting height.
(19)
in the new positon.
(21)
.
(22)
.
(23)
opens during mowing. When it closes during
(21)
.
(22)
.
(10)
and
(14)
(14)
9