- ページ 3
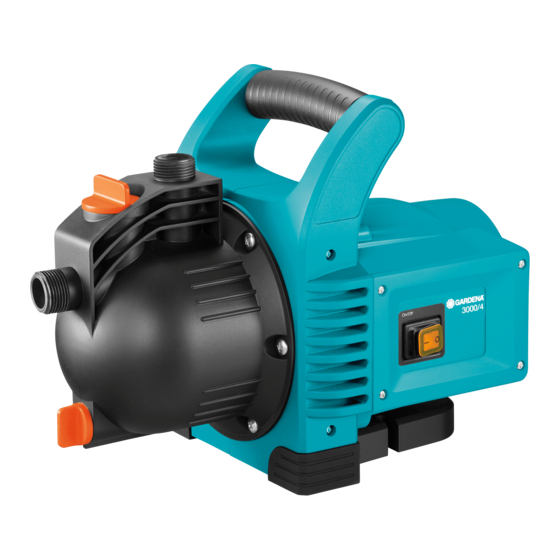
水ポンプ Gardena 1709のPDF 取扱説明書をオンラインで閲覧またはダウンロードできます。Gardena 1709 10 ページ。 Garden pump
Gardena 1709 にも: 取扱説明書 (10 ページ), 取扱説明書 (7 ページ), 取扱説明書 (9 ページ)
v Position the pump at a safe distance (min. 2 m) from the liquid to be
pumped.
The pump must be installed in a location with low air humidity and suf-
ficient ventilation in the area of the ventilation slots. It must be at a dis-
tance of at least 5 cm from the walls. No dirtcontamination (e.g. sand or
earth) may be sucked in through theventilation slots.
Connecting hose to suction side [ Fig. I1 ]:
Don't use any hose connection system fittings on the suction side!
A vacuum-resistant suction hose must be used, e. g. GARDENA
Suction Unit, art. 1411.
In order to reduce the suction time, it is advisable to use a suction hose
with backflow preventer avoiding automatic draining of the suction hose
when the pump is stopped.
1. Screw a vacuum-resistant suction hose
on the suction side of the pump
2. For suction heights exceeding 4 m also secure the suction hose
(e.g. by fastening it to a wooden post).
This relieves the pump of the weight of the suction hose.
Connecting hose to delivery side [ Fig. I2 ]:
The 3500/4 pump has 2 connections
connection not in use has to be closed by the cap
unscrewed for connecting 2 hoses.
The pump connections
3
/
ß
3a
which can be used to connect 13 mm (1/2"), 16 mm (5/8") or 19 mm
(3/4") hoses via the GARDENA hose connection system.
Optimised use of the pump capacity is achieved by connecting 19 mm
(3/4") hoses with e.g. GARDENA Pump Connection Set Art. 1752, or by
connecting 25 mm (1") hoses with GARDENA Quick Thread Coupling
with female thread Art. 7109 / Quick Coupling Hose Connector
Art. 7103.
v Connect the pressure hose
side
3
/
ß
.
3a
If more than 2 (3000/4 more than 1) hoses / accessories are connected
simultaneously, we recommend using the GARDENA 2 or 4Channel
Water Distributor Art. 8193/8194, GARDENA TwinTap Connector
Art. 940 which can be screwed directly onto the connection on the
3
ß
delivery side
/
.
3a
3. OPERATION
Filling the pump [ Fig. O1 / O2 ]:
DANGER! Electric shock!
Risk of injury due to electric shock.
v Disconnect from the mains before filling the Garden Pump.
CAUTION! DryRunning
v Before each operation, fill the pump to overflowing with
approx. 2 to 3 l of the liquid to be pumped!
1. Unscrew the screw fitting
2. Fill the pump via the filler cap
the liquid to be pumped.
3. Tighten the screw fitting
6
pliers).
4. Open any shut-off valves in the delivery line (accessories, water stop, etc.).
5. Drain remaining water
5
the suction process.
6. Insert the power plug.
7. Lift and hold the delivery hose
pump, press the On/Off switch
until the pump has primed.
v If the pump does not deliver after approx. 5 minutes,
switch off the pump (press On/Off switch
(see 6. TROUBLESHOOTING).
The specified maximum self-priming suction height of 7 m is reached only
if the pump is filled via the filler neck
doing so and during the self-priming, the delivery hose
ficiently high to prevent any flow medium escaping from the pump via
the delivery hose
5
.
1707-52.960.02.indd 3
1
airtight onto the connector
2
.
3
ß
/
on the delivery side. The pump
3a
4
, which can be
are equipped with a 33.3 mm (G 1") thread
5
to the connector on the delivery
6
7
of the filler cap
by hand.
7
to overflowing with approx. 2 to 3 l of
of the filler cap
7
by hand (do not use
in pressure hose so that air can escape during
5
at least 1 m vertically above the
8
(On/Off switch shines) and wait
8
)
7
up to the overflow and if, while
5
is held up suf-
4. STORAGE
To put into storage [ Fig. S1 ]:
Before the start of the frost period the Garden Pump should be stored
protected from frost.
1. Open the water drain screw
The Garden Pump drains.
2. Store your Garden Pump so that it is protected from frost.
Disposal:
(in accordance with RL2012/19/EC)
The product must not be disposed of to normal household waste.
It must be disposed of in line with local environmental regulations.
IMPORTANT!
v Dispose of the product through or via your municipal recycling
collection centre.
1
5. MAINTENANCE
The GARDENA Garden Pump is essentially maintenance-free.
Flush through Garden Pump:
The pump must be flushed through after discharging chlorinated
swimming pool water.
1. Pump through lukewarm water (max. 35 °C), possibly adding a mild
cleaning agent (e. g. detergent) until the pumped water runs clear.
2. Remove residuals according to the waste disposal laws applicable in
your area.
6. TROUBLESHOOTING
DANGER! Electric shock!
Risk of injury due to electric shock.
v Disconnect Garden Pump from the mains before
troubleshooting.
Free the impeller [ Fig. T1 ]:
An impeller blocked by dirt can be freed again.
v Turn the impeller bolt
This will free the blocked impeller.
Problem
Pump runs, but the suction
action doesn't take place
9
.
0
using a screwdriver.
Possible Cause
Remedy
Pump sucks in air at a joint.
v Seal connections on suction
side so are airtight.
Leaky or damaged suction
v Check suction line for dam-
hose.
age and seal so is airtight.
The pump was not filled with
v Fill the pump
the liquid to be pumped.
(see 3. OPERATION).
The liquid escapes over the
1. Fill the pump again
hose which is connected to
(see 3. OPERATION).
the delivery side during the
2. When starting operation hold
suction action.
the pressure hose approx. 1 m
vertically above the pump,
until the suction action has
taken place.
Absolutely vacuum-resistant connection is achieved by using
GARDENA Suction Hoses (see point 7. ACCESSORIES).
6
Leaky screw fitting
at the
v Check seal (replace if neces-
filler cap
7
.
sary) and tighten connection
securely (do not use pliers).
Air cannot escape, since
v Open shut-off valves
delivery side is closed or
(e. g. nozzle) in the delivery
remaining water is in the
line, empty the delivery hose
pressure hose.
or disconnect it from the
pump during priming.
The waiting time wasn't
v Switch on the pump and
observed.
wait up to 5 min.
Suction filter or backflow
v Clean the filter or the back
preventer in the suction hose
flow preventer.
clogged.
3
02.07.20 16:03