- ページ 9
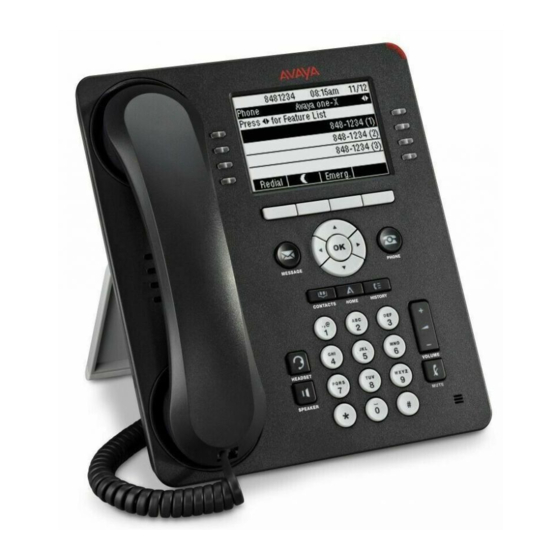
IP電話 Avaya one-X Quick EditionのPDF はじめにをオンラインで閲覧またはダウンロードできます。Avaya one-X Quick Edition 18 ページ。 Application notes for plantronics calisto p210-a usb handset with avaya one-x communicator - issue 1.0
Avaya one-X Quick Edition にも: ユーザーマニュアル (6 ページ), クイック・リファレンス (4 ページ), アプリケーションノート (12 ページ), 設置および安全に関する指示 (10 ページ), クイック・リファレンス・マニュアル (4 ページ), クイック・リファレンス・マニュアル (2 ページ)
9. In the Protocol area, perform one of the following steps:
•
If you want to use Avaya one-X Communicator as an H.323 endpoint, click
the H.323 option button.
•
If you want to use Avaya one-X Communicator as a SIP endpoint, click the
SIP option button.
10. In the Features area, perform one of the following steps:
•
If you are installing Avaya one-X Communicator on Citrix, click the Citrix
option button.
•
If you are not using Citrix, click the Standard option button.
11. If you want to make and handle video calls with Avaya one-X Communicator,
click the Video Integration check box in the Integrations area.
12. If you want to integrate Avaya one-X Communicator with Microsoft Outlook, click
the Outlook Integrator check box in the Integrations area.
NOTE:
If you want to install the Outlook Integrator, make sure Microsoft Outlook is not
running currently.
13. If you want to integrate Avaya one-X Communicator with Lenovo, click the
Lenovo Integration check box in the Integrations area.
14. If you want to integrate Avaya one-X Communicator with Avaya one-X Portal,
click the Avaya one-X Portal Integration check box in the Integrations area.
15. If you want to be able to dial numbers from Microsoft Internet Explorer, click the
IE check box in the Click-to-dial area.
16. If you want to be able to dial numbers from Mozilla Firefox, click the Firefox
check box in the Click-to-dial area.
17. Click the Next button.
The Ready to Install the Application dialog box appears.
18. Click the Next button.
The Updating System message box appears showing the status of the
installation. Once the installation is complete, the Setup Complete message box
appears.
19. Click the Finish button.
Step 4: Modify the Settings for Your Virus Scan Program
After installing Avaya one-X Communicator, configure your virus scan program so that it
does not scan the folder in which you installed Avaya one-X Communicator or where log
files are stored. The default installation folder is C:\Program Files\Avaya\Avaya one-X
Communicator. The log files are kept in C:\Documents and Settings\<user
name>\Application Data\Avaya\Avaya one-X Communicator.
9