- ページ 9
芝生とガーデン用品 Gardena 1242のPDF 取扱説明書をオンラインで閲覧またはダウンロードできます。Gardena 1242 15 ページ。 Programming unit
Gardena 1242 にも: 取扱説明書 (15 ページ), 取扱説明書 (15 ページ)

Manual watering :
Setting the manual
watering time :
6. Trouble-Shooting
Fault
No display
Battery flat after a short
operating period
Faults during data
transmission
E E R R R R O O R R 1 1
flashes on the display
(no connection to
Control Unit)
20
Manual Watering
Prerequisite :
The lever of the Irrigation Valve must be set to the "AUTO"
position.
1. Press the ON / OFF key on the Control Unit.
Manual watering starts.
2. Press the ON / OFF key on the Control Unit during manual
watering.
Manual watering is ended prematurely.
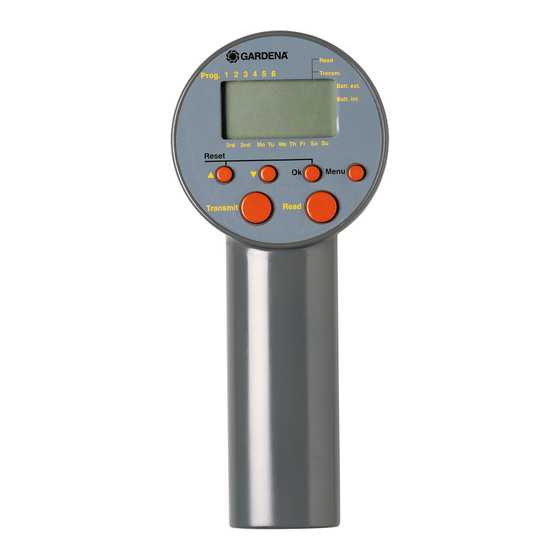
After putting the Programming Unit into operation, the manual
watering time is pre-set to 30 minutes (
1. Call the main level. The time and day are displayed.
2. Press and hold down the Ok key for 5 seconds.
M M A A N N U U A A L L R R U U N N - - T T I I M M E E
and the hours flash.
3. Set the hours for the watering time using the ▲-▼ keys
0 0
(for example
hours) and confirm by pressing the Ok key.
M M A A N N U U A A L L R R U U N N - - T T I I M M E E
and the minutes flash.
4. Set the minutes for the watering time using the ▲-▼ keys
2 2 0 0
(for example
minutes) and confirm by pressing the Ok key.
The changed manual watering time is saved in the Program-
ming Unit and the main level is displayed.
Tip : If you have questions about programming the Programming
Unit, please do not hesitate to contact GARDENA Service.
Possible cause
Energy-saving stand-by mode
has switched on.
No battery or battery flat.
Outside temperature
below – 10 °C or
above
Alkaline battery was not used.
Plug connection dirty.
Control Unit not connected
or connected incorrectly.
No contact at the plug con-
nection.
No battery in the Control Unit.
0 0 : : 3 3 0 0
).
Remedy
v Press any key.
The display shows the main
level.
v Insert battery (refer to
4. Putting into Operation).
v Wait until the operating
+ 50 °C.
temperature range is
reached again.
v Use an alkaline battery of
the type 9 V IEC 6LR61.
v Clean using a soft cloth or
brush (do not use solvent).
v Connect Control Unit
completely, push on as
far as possible.
v Check contact at the plug
connection.
v Replace battery in Control
Unit.
