- ページ 5
芝生とガーデン用品 Gardena 4066のPDF 取扱説明書をオンラインで閲覧またはダウンロードできます。Gardena 4066 12 ページ。 Electric lawn rake
Gardena 4066 にも: 取扱説明書 (9 ページ), 取扱説明書 (15 ページ), 取扱説明書 (15 ページ), 取扱説明書 (15 ページ), 取扱説明書 (9 ページ), 取扱説明書 (9 ページ)
8
4
0
2
5
6
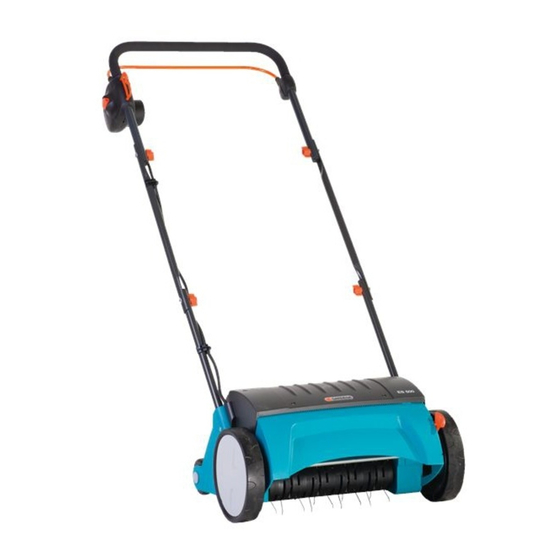
5. Operation
Connecting to power sypply :
0
A
1
2
7
Starting
Lawn Scarifier:
3
C
B
14
7
2. Insert the two locking bolts
in the two central sections
lower sections of the upright
3
3. Screw the upper part of the upright with starting handle
the central sections of the upright
1
bolts
1
This completes the assembly of the hanle.
Warning : Fit the upper section of the upright with starting
3
handle
8
cable
fig.).
4. Attach connection cable
9
0
clips
.
1. Push connector of extension cable
2. Draw a loop of the extension cable
relief device
This prevents inadvertent disconnection of the plug and socket
connection.
3. Insert extension cable
Danger of injury if the Lawn Scarifier does not switch off
automatically !
V Do not remove or bridge safety devices fitted to the Aera-
tor (e.g. by tying the starting lever to the upper handle) !
Danger ! The Scarifier does not stop immediately after
A
the motor has been switched off :
V Never lift, tip or carry the Scarifier with the motor
running !
V Never start on solid ground (e.g. asphalt).
V Always maintain the safety distance between the
aerator cylinder and the user as defined by the
guide handle.
1. Place Lawn Scarifier on flat grass surface.
2. Keep safety interlock
on the upper handle
3. Release safety interlock
When in operation, the extension cable
guided in the direction you are working and to the side of
the area to be worked on.
Always work away from the connection cable.
1
from outside through the holes
2
of the upright and secure to the
5
4
and the wing nuts
.
in such a way that the plug
is on the right side (in direction of movement) (see
8
to the handle with the two cable
A
1 and suspend in position 2.
0
into a mains socket.
B
pressed down and pull starting lever
3
. The Lawn Scarifier starts.
B
.
4
with two wing nuts
.
2
with two more locking
7
with the power
0
7
on to the plug
0
through the cable strain
0
must always be
3
to
.
C