- ページ 5
芝生とガーデン用品 Gardena AquaContour automatic 8133のPDF 取扱説明書をオンラインで閲覧またはダウンロードできます。Gardena AquaContour automatic 8133 12 ページ。 Aquacontour automatic.
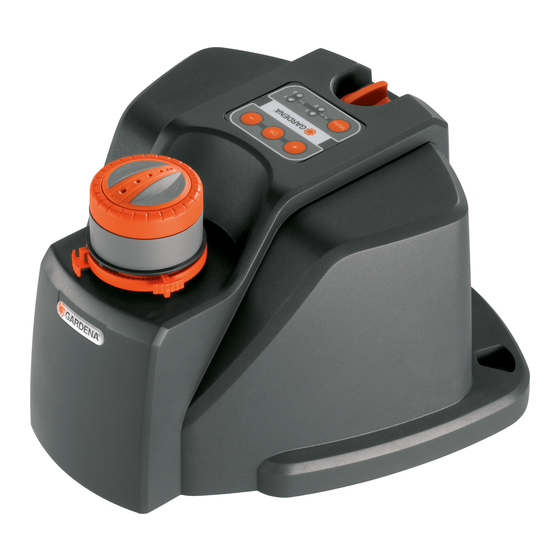
large-area irrigation
Gardena AquaContour automatic 8133 にも: 取扱説明書 (13 ページ)
5. Operation
Select watering sector :
z
L
Programme contour points
of irrigation sector :
B
2
4
1
6
14
A watering sector from 25° to 360° can be selected. To prevent
areas being watered unintentionally (e.g. house), the sector
should first be selected roughly (slightly too small).
Roughly select sector :
1. Close water supply.
2. Turn the nozzle head
sector (e.g. P4).
3. Roughly select watering sector: turn right sector stop
right-hand side (e.g. P9) and left sector stop
side (e.g. P2).
Re-adjust sector :
1. Open water supply.
2. Watch watering sector and re-adjust the sector-stops
according to the sector limits (P1 and P10) until the change in
direction matches the required irrigation limits.
Anti-vandal device :
If the nozzle head is turned beyond the sector stops with the
B
sector stops held, the anti-vandal device will be triggered. As
soon as the water supply is opened, the Large-Area Irrigation
AquaContour will automatically return to the watering sector.
z
R
The head of the Large-Area Irrigation can turn around 360°
before the original position is reached again.
The watering sector has to be selected before programming.
Two programmes for different locations can be programmed in.
Up to 50 contour points can be programmed with the Large-
Area Irrigation AquaContour automatic. The more points that are
programmed, the more precisely the contour will be described
(e.g. with a circular arc P7 – P10).
1. Open water supply.
When using for the first time, the minimum range (2.5 m with a
flow pressure of 2 bar at the large-area irrigation) is selected.
2. Press OK button
3. Select program : keep pressing Menu button
required Set LED
3
The required programme 1 or 2 has been selected and can
now be programmed in.
4. Turn the nozzle head
left-hand sector limit (in the example P1) and hold.
5. Use the two buttons "+" button
the range so that it reaches P1.
6. Press OK button
The green Auto LED
point P1 has been stored.
7. Turn the nozzle head
5
next irrigation point (e.g. P2) and hold.
B
by hand to the middle of the watering
4
. A green Auto LED
5
(1 or 2) lights up.
B
on the orange ring by hand to the
2
and "-" button
4
.
6
lights up for 1 second and the first
B
on the orange ring by hand to the
z
to
R
z
to left-hand
L
z
z
and
L
R
6
lights up.
1
until the
3
to set