- ページ 6
見る Garmin FENIX 7 SeriesのPDF クイック・スタート・マニュアルをオンラインで閲覧またはダウンロードできます。Garmin FENIX 7 Series 14 ページ。 Turn on smart watch of 2022 - go wiki
Garmin FENIX 7 Series にも: よくある質問 (5 ページ), ハウツー (8 ページ)

product warnings and other important
information.
NOTICE
To prevent corrosion, thoroughly clean
and dry the contacts and the surrounding
area before charging or connecting to a
computer. Refer to the cleaning
instructions in the owner's manual.
1
Plug the small end of the USB cable
into the charging port on your device.
2
Plug the large end of the USB cable
into a USB charging port.
3
Charge the device completely.
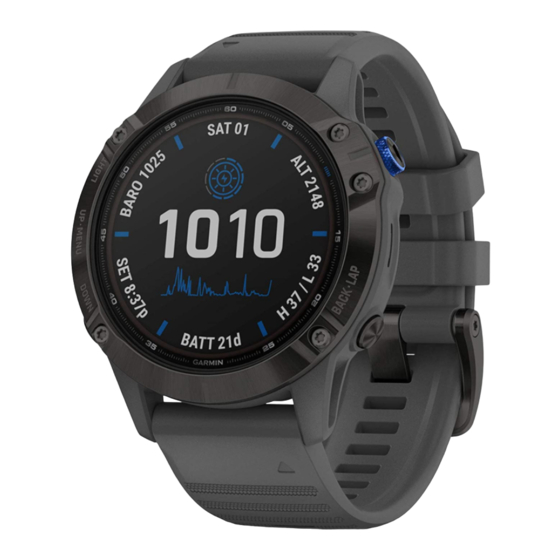
Solar Charging
Watch models with solar charging
capability allow you to charge your watch
while you use it.
Tips for Solar Charging
To maximize the battery life of your
watch, follow these tips.
•
When you are wearing the watch,
avoid covering the face with your
sleeve.
•
When you are not wearing the watch,
point the face toward a source of
bright light, such as sunlight or
fluorescent light.
6
The watch will charge faster when
exposed to sunlight, because the
solar charging lens is optimized for
the spectrum of sunlight.
•
For maximum battery performance,
charge the watch in bright sunlight.
NOTE: The watch protects itself from
overheating and stops charging
automatically if the internal
temperature exceeds the solar
charging temperature threshold
(page 6).
NOTE: The watch does not solar
charge when connected to an
external power source or when the
battery is full.
Specifications
Operating temperature range: From -20
to 45°C (from -4 to 113°F)
Charging temperature range: USB
charging: from 0 to 45°C (from 32 to
113°F)
Solar charging: from 0 to 60°C (from
32 to 140°F)
Wireless frequency (EU power):
fenix 7S:
2.4 GHz @ 17.3 dBm maximum
fenix 7:
2.4 GHz @ 17.8 dBm maximum
fenix 7X:
2.4 GHz @ 19.3 dBm maximum
EU SAR:
fenix 7S:
0.32 W/kg torso, 0.32 W/kg limb
fenix 7:
0.30 W/kg torso, 0.30 W/kg limb
fenix 7X:
0.75 W/kg torso, 0.27 W/kg limb
Troubleshooting
Restarting Your Device
1
Hold LIGHT until the device turns off.
2
Hold LIGHT to turn on the device.
Quick Start Manual
