- ページ 8
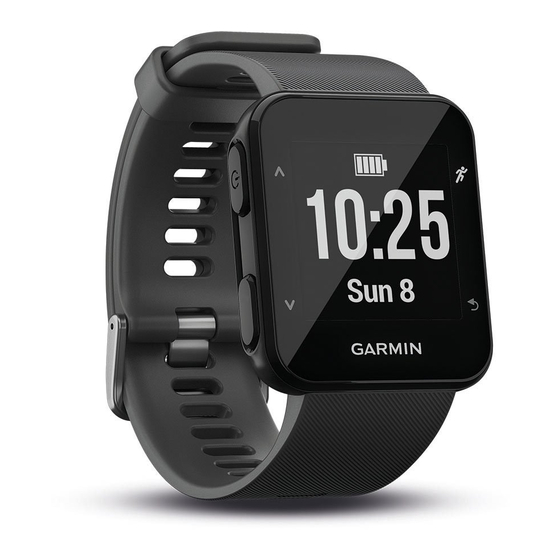
見る Garmin Forerunner 30のPDF オーナーズマニュアルをオンラインで閲覧またはダウンロードできます。Garmin Forerunner 30 38 ページ。 Garmin sl 30 aviation-nav/comm: release note
Garmin Forerunner 30 にも: リリースノート (2 ページ), オーナーズマニュアル (14 ページ)

Turn on the GDL 30/30A
The GDL30/30A turns on and off automatically with the chartplotter that it is
connected to. To verify proper operation, turn on the chartplotter and verify that
the Status LED on the front of the GDL30/30A is Green and blinking. For more
detail on the Blink Codes, see Appendix A.
Subscribing to XM WX Weather and XM Radio
With the GDL30/30A installed, contact XM Satellite Radio to activate your
XM WX weather and audio (GDL30A only) subscription service. Follow the
instructions below. Complete Steps 1-3 BEFORE calling XM Satellite Radio:
Step 1: Check the System Setup
Make certain the GDL 30/30A is fully wired and is connected to a chartplotter.
Verify that the GA 31 antenna has been properly installed. If you own a GDL
30A, verify that the audio cable is connected to your GDL 30A and to your
stereo receiver.
Step 2: Turn on your System
Turn on your chartplotter. This automatically turns on the GDL 30/30A.
Step 3: Identify Radio ID(s)
Press and hold down the ADJ/MENU key on your chartplotter. The Main Menu
page appears. A list of tabs appear down the left-hand side of the Menu page.
Using the ROCKER key, highlight the XM tab and select the Information sub
tab.
Write down the Radio ID - Weather and Radio ID - Audio (GDL 30A only).
Have the ID number, your billing address and other billing information ready
when you contact XM Satellite Radio.
Audio sub tab (it is next to the Information sub
(GDL 30A only) Select the
tab). Verify that XM Preview appears in the Radio Tuning box.
4
G
ETTING
Service Level field
For future reference, record the Radio ID(s) in the space provided on
page 1 of this manual. Note: If you have a GDL 30, the Audio sub tab
is not available.
S
>
30/30
TARTED
TURNING ON THE GDL
Weather Products list
GDL 30/30A Owner's Manual
A
