- ページ 27
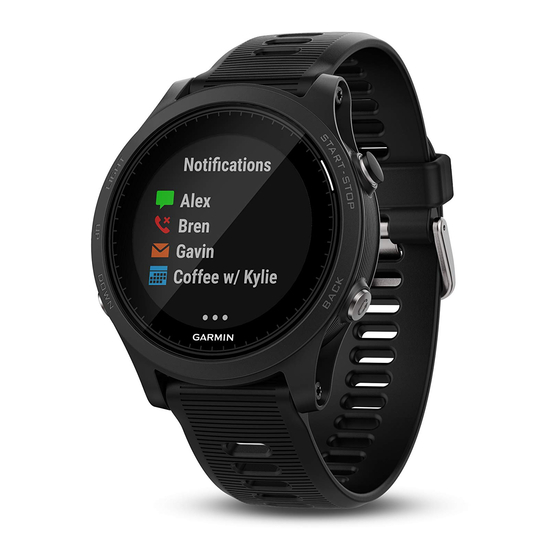
見る Garmin FORERUNNER 935のPDF オーナーズマニュアルをオンラインで閲覧またはダウンロードできます。Garmin FORERUNNER 935 46 ページ。
Garmin FORERUNNER 935 にも: オーナーズマニュアル (42 ページ)

Navigating to the Starting Point of Your Last
Saved Activity
You can navigate back to the starting point of your last saved
activity in a straight line or along the path you traveled. This
feature is available only for activities that use GPS.
1
Select START > Navigate > Activities.
2
Select your last saved activity.
3
Select Back to Start.
4
Select an option:
• To navigate back to the starting point of your activity along
the path you traveled, select TracBack.
• To navigate back to the starting point of your activity in a
straight line, select Straight Line.
5
Select DOWN to view the compass (optional).
The arrow points toward your starting point.
Projecting a Waypoint
You can create a new location by projecting the distance and
bearing from your current location to a new location.
1
If necessary, select START > Add > Project Wpt. to add the
project waypoint app to the apps list.
2
Select Yes to add the app to your list of favorites.
3
From the watch face, select START > Project Wpt..
4
Select UP or DOWN to set the heading.
5
Select START.
6
Select DOWN to select a unit of measure.
7
Select UP to enter the distance.
8
Select START to save.
The projected waypoint is saved with a default name.
Navigating to Your Starting Point During an
Activity
You can navigate back to the starting point of your current
activity in a straight line or along the path you traveled. This
feature is available only for activities that use GPS.
1
During an activity, select STOP > Back to Start.
2
Select an option:
• To navigate back to the starting point of your activity along
the path you traveled, select TracBack.
• To navigate back to the starting point of your activity in a
straight line, select Straight Line.
Your current location
destination
appear on the map.
Navigating to a Destination
You can use your device to navigate to a destination or follow a
course.
1
From the watch face, select START > Navigate.
2
Select a category.
3
Respond to the on-screen prompts to choose a destination.
4
Select Go To.
Navigation
, the track to follow
, and your
Navigation information appears.
5
Select START to begin navigation.
Marking and Starting Navigation to a Man
Overboard Location
You can save a man overboard (MOB) location, and
automatically start navigation back to it.
TIP: You can customize the hold function of the keys to access
the MOB function
(Customizing the Hot Keys, page
From the watch face, select START > Navigate > Last MOB.
Navigation information appears.
Navigating with Sight 'N Go
You can point the device at an object in the distance, such as a
water tower, lock in the direction, and then navigate to the
object.
1
From the watch face, select START > Navigate > Sight 'N
Go.
2
Point the top of the watch at an object, and select START.
Navigation information appears.
3
Select START to begin navigation.
Stopping Navigation
1
During an activity, hold
2
Select Stop Navigation.
Map
represents your location on the map. Location names and
symbols appear on the map. When you are navigating to a
destination, your route is marked with a line on the map.
• Map navigation
(Panning and Zooming the Map, page
• Map settings
(Map Settings, page
Panning and Zooming the Map
1
While navigating, select UP or DOWN to view the map.
2
Hold
.
3
Select Pan/Zoom.
4
Select an option:
• To toggle between panning up and down, panning left and
right, or zooming, select START.
• To pan or zoom the map, select UP and DOWN.
• To quit, select BACK.
Map Settings
You can customize how the map appears in the map app and
data screens.
From the watch face, hold
Orientation: Sets the orientation of the map. The North Up
option shows north at the top of the screen. The Track Up
option shows your current direction of travel at the top of the
screen.
User Locations: Shows or hides saved locations on the map.
Auto Zoom: Automatically selects the zoom level for optimal
use of your map. When disabled, you must zoom in or out
manually.
Navigation Settings
You can customize the map features and appearance when
navigating to a destination.
Customizing Map Features
1
Hold
.
2
Select Settings > Navigation > Data Screens.
27).
.
21)
, and select Settings > Map.
21)
21
