- ページ 20
アビオニクス・ディスプレイ Garmin GEA 71のPDF インストレーション・マニュアルをオンラインで閲覧またはダウンロードできます。Garmin GEA 71 34 ページ。

3.3
Backshell Assembly and Installation
The GEA 71 connector kit includes two Garmin backshell assemblies. The backshell assemblies house
the configuration module/temperature sensor. Garmin's backshell also gives the installer the ability to
easily terminate shield grounds at the backshell housing using one of two methods available (SPIDER or
Shield Block). To assemble the backshell and configuration module refer to instructions provided in
Table 3-3. The documents listed in Table 3-3 are available via the Dealer portion of the Garmin website
(www.garmin.com).
Table 3-3. Backshell Installation Instruction Documents
G1000 System Installation Manual
G1000 Configuration Module Instructions into a Backshell
G1000 SPIDER Installation Instructions
G1000 Shield Block Installation Instructions
Information about the SPIDER grounding system is provided in support of existing
installations. All new installations shall use the SHIELD BLOCK grounding system.
3.4
Thermocouple Installation
The backshell assembly also houses a thermocouple reference junction (needed only if the GEA 71 is to
monitor temperatures using thermocouple sensors). The thermocouple kit is available separately as
Garmin part number 011-00981-00. Refer to the Thermocouple Installation into a Backshell document
(190-00313-01) available via the Dealer portion of the Garmin website (www.garmin.com) for
thermocouple installation instructions.
3.5
Final Installation
For final installation and assembly, refer to the outline and installation drawings shown in Appendix A of
this manual.
1. Assemble the connector backshells as described in Sections 3.3 and 3.4.
2. Connect both connectors to the rear plate using the screws provided in the connector kit.
3. Mount the unit rack to the main system rack or other suitable mounting location using the provided
nutplates.
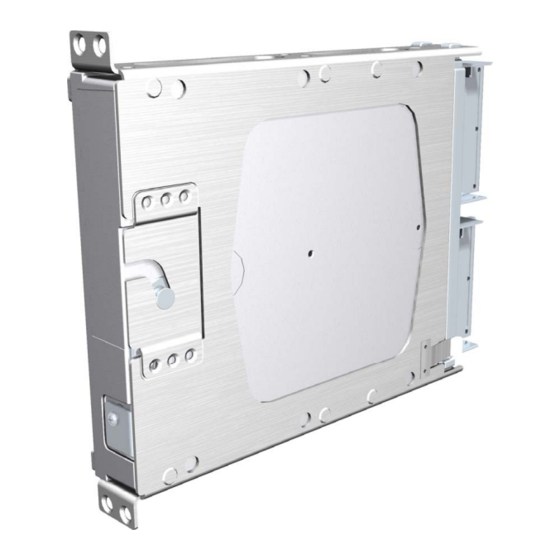
4. Assemble the rear plate into the GEA 71 unit rack.
5. Insert the GEA 71 into the rack, noting proper orientation as shown on the installation drawing in
Appendix B.
Do not use excessive force when inserting the GEA 71 into the rack. This may cause
damage to occur to the connectors, unit, and/or unit rack. If heavy resistance is felt
during installation, stop! Remove the GEA 71 and identify the source of resistance. The
rear plate is designed to float in the unit rack. Check to ensure the rear plate is not bound
by the connector harness.
Page 3-2
Revision F
Document
NOTE
CAUTION
Garmin Part Number
190-00303-00
190-00313-02
190-00313-03
190-00313-09
GEA 71 Installation Manual
190-00303-40
