Introduction
See the Important Safety and Product Information guide in the
product box for product warnings and other important
information.
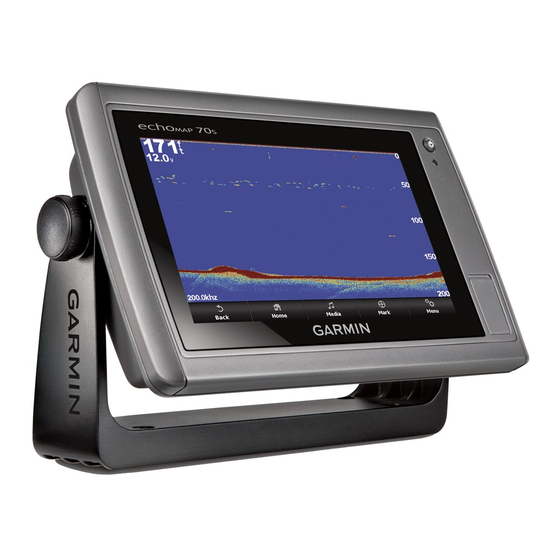
echoMAP 70 Series and GPSMAP 700 Series
Power key
Automatic backlight sensor
Touchscreen
microSD
™
memory card slots
Using the Touchscreen
• Tap the screen to select an item.
• Drag or swipe your finger across the screen to pan or scroll.
• Pinch two fingers together to zoom out.
• Spread two fingers apart to zoom in.
Locking the Touchscreen
You can lock the touchscreen to prevent inadvertent screen
touches.
1
Select .
2
Select Lock Touchscreen.
echoMAP 50 Series and GPSMAP 500 Series
Automatic backlight sensor
Power key
Device keys
microSD memory card slots
Device Keys
Turns on and off the device when held.
Adjusts the backlight and color mode when quickly pressed
and released.
Zooms out of a chart or view.
Introduction
WARNING
Zooms in to a chart or view.
Scrolls, highlights options, and moves the cursor.
SELECT
Acknowledges messages and selects options.
BACK
Returns to the previous screen.
MARK
Saves the present location as a waypoint.
HOME
Returns to the Home screen.
MENU
Opens a menu of options for the page, when applicable.
Closes a menu, when applicable.
Downloading the Manuals
You can get the latest owner's manual and translations of
manuals from the web.
1
Go to www.garmin.com/support.
2
Select Manuals.
3
Follow the on-screen instructions to download the manual for
your product.
Manual Conventions
In this manual, the term "select" is used to describe these
actions.
• Touching an item on the screen (for touchscreen devices
only).
• Using the arrow keys to highlight a menu item, and then
pressing SELECT (for hard key devices only).
• Pressing a key, such as SELECT or MENU.
When you are instructed to select multiple items in a series,
small arrows appear in the text. For example, "select Menu >
Add," indicates that you need to select the Menu item or hard
key and then select the Add item.
The images in this manual are for reference only and may not
match your device exactly.
Getting More Information
If you have any questions about your device, you can contact
Garmin
Product Support.
®
The website, www.garmin.com/support, offers many different
troubleshooting tips to help resolve most issues and answer
most questions.
• Frequently-asked questions (FAQs)
• Software updates
• Owner's and installation manuals
• Service alerts
• Video
• Contact numbers and addresses
Inserting Memory Cards
You can use optional memory cards in the chartplotter. Map
cards allow you to view high-resolution satellite imagery and
aerial reference photos of ports, harbors, marinas, and other
points of interest. You can use blank memory cards to record
sonar data and transfer data such as waypoints, routes, and
tracks to another compatible Garmin chartplotter or a computer.
1
Open the access flap or door on the front of the chartplotter.
2
Insert the memory card.
3
Press the card in until it clicks.
1

