- ページ 2

オール・イン・ワン・プリンター Brother Business Smart MFC-J4510dwのPDF クイック・スタート・マニュアルをオンラインで閲覧またはダウンロードできます。Brother Business Smart MFC-J4510dw 29 ページ。 Quick setup guide - spanish
Brother Business Smart MFC-J4510dw にも: マニュアル (36 ページ), マニュアル (22 ページ), 製品安全マニュアル (17 ページ), マニュアル (13 ページ), マニュアル (22 ページ), クイック・セットアップ・マニュアル (47 ページ), マニュアル (18 ページ), クイック・セットアップ・マニュアル (47 ページ), パンフレット&スペック (4 ページ), 製品安全マニュアル (20 ページ), 仕様 (2 ページ), クイック・セットアップ・マニュアル (47 ページ), 製品安全マニュアル (25 ページ), (スペイン語)ウェブ・コネクト・マニュアル (38 ページ), (スペイン語)マニュアル (24 ページ), (製品安全ガイドマニュアル (16 ページ), (スペイン語)マニュアル (11 ページ), (クイック設定ガイド (47 ページ)
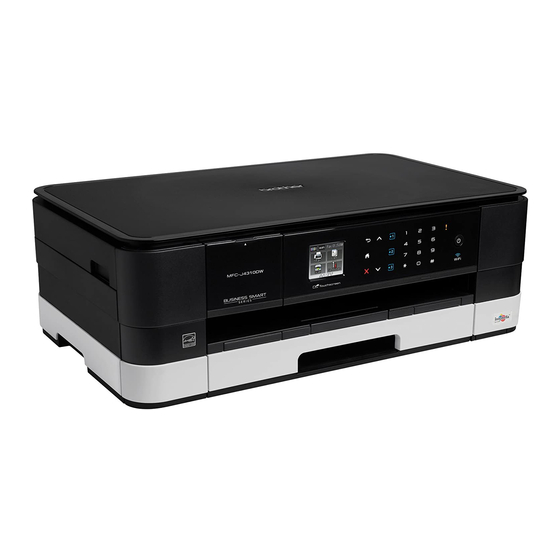
Brother Business Smart MFC-J4510dw クイック・スタート・マニュアル
2
Load plain A4 paper
CAUTION
DO NOT carry the machine by holding the scanner
cover or the Jam Clear Cover. Doing this may
cause the machine to slip out of your hands. Only
carry the machine by placing your hands under the
entire machine.
For detailed information, see the Product Safety
Guide.
a
Pull the paper tray completely out of the
machine.
b
Open the output paper tray cover.
c
Gently press and slide the paper guides a to fit
the paper size. Make sure that the triangular
mark b on the paper guide a lines up with the
mark for the paper size you are using.
2
1
2
d
Fan the stack of paper well to avoid paper jams
and misfeeds.
NOTE
Always make sure that the paper is not curled or
wrinkled.
e
Gently put the paper into the paper tray print
side down and top edge first.
IMPORTANT
Be careful that you do not push the paper in too
far; it may lift at the back of the tray and cause
paper feed problems.
f
Gently adjust the paper guides to fit the paper.
Make sure that the paper guides touch the
edges of the paper.
g
Check that the paper is flat in the tray and
below the maximum paper mark. Close the
output paper tray cover.
h
Slowly push the paper tray completely into the
machine.