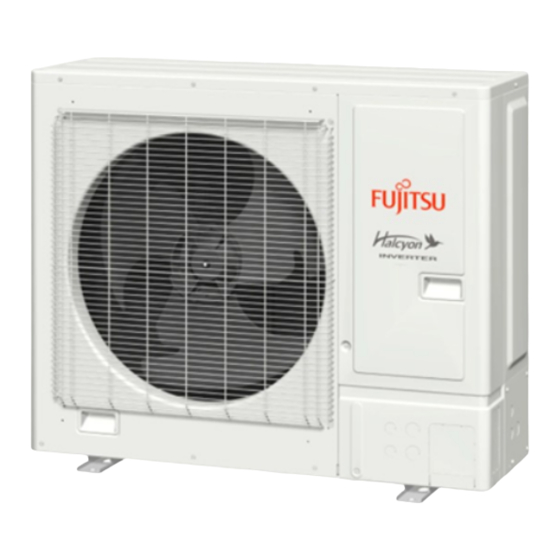
エアコン Fujitsu 24LMAS1のPDF インストレーション・マニュアルをオンラインで閲覧またはダウンロードできます。Fujitsu 24LMAS1 17 ページ。 Outdoor unit

AIR CONDITIONER
OUTDOOR UNIT
Contents
1.
SAFETY PRECAUTIONS ............................................................................1
1.1. IMPORTANT! Please read before starting ............................................1
1.2. Special precautions ..............................................................................1
2.
PRODUCT SPECIFICATION .......................................................................2
2.1. Installation tools ....................................................................................2
2.2. Accessories ..........................................................................................2
2.3. Pipe requirements ................................................................................3
2.4. Power source ........................................................................................3
2.5. Electrical requirements .........................................................................3
2.6. Additional charge amount .....................................................................4
2.7. General information ..............................................................................4
3.
INSTALLATION WORK ...............................................................................4
3.1. Installation dimensions .........................................................................5
3.2. Transporting the unit .............................................................................5
3.3. Mounting the unit ..................................................................................6
3.4. Drain installation ...................................................................................6
3.5. Pipe installation ....................................................................................6
3.6. Sealing test ...........................................................................................8
3.7. Vacuum process ...................................................................................8
3.8. Additional charging ...............................................................................8
3.9. Electrical wiring .....................................................................................9
4.
TEST RUN ................................................................................................. 11
4.1. Pre-test run check items ..................................................................... 11
4.2. Test operation method ........................................................................ 11
4.3. Checklist ............................................................................................. 11
5.
FINISHING.................................................................................................12
5.1. Installing insulation .............................................................................12
5.2. Filling with putty ..................................................................................12
6.
HOW TO OPERATE DISPLAY UNIT .........................................................12
6.1. Display unit position ............................................................................12
6.2. Description of display and buttons ......................................................12
7.
FIELD SETTING ........................................................................................13
7.1. Field setting buttons ...........................................................................13
7.2. Function settings ................................................................................13
8.
EXTERNAL INPUT AND OUTPUT ............................................................14
8.1. External input ......................................................................................14
8.2. External output ...................................................................................15
9.
PUMP DOWN ............................................................................................15
9.1. Preparation for pump down ................................................................16
9.2. Pump down procedure .......................................................................16
10. ERROR CODES ........................................................................................16
10.1. Error display mode ...........................................................................16
10.2. Error code check table ......................................................................17
Installation must be performed in accordance with the requirement of NEC and CEC by
authorized personnel only.
INSTALLATION MANUAL
1. SAFETY PRECAUTIONS
1.1. IMPORTANT! Please read before starting
This air conditioning system meets strict safety and operating standards.
As the installer or service person, it is an important part of your job to install or service the
system so it operates safely and efficiently.
For safe installation and trouble-free operation, you must:
• Carefully read this instruction booklet before beginning.
• Follow each installation or repair step exactly as shown.
• Observe all local, state, and national electrical codes.
• Pay close attention to all warning and caution notices given in this manual.
WARNING:
This symbol refers to a hazard or unsafe practice which can result in
severe personal injury or death.
This symbol refers to a hazard or unsafe practice which can result in
CAUTION:
personal injury and the potential for product or property damage.
• Hazard alerting symbols
Electrical
Safety/alert
If Necessary, Get Help
These instructions are all you need for most installation sites and maintenance conditions.
If you require help for a special problem, contact our sales/service outlet or your certified
dealer for additional instructions.
In Case of Improper Installation
The manufacturer shall in no way be responsible for improper installation or maintenance
service, including failure to follow the instructions in this document.
1.2. Special precautions
When Wiring
ELECTRICAL SHOCK CAN CAUSE SEVERE PERSONAL INJURY OR DEATH. ONLY A
QUALIFIED, EXPERIENCED ELECTRICIAN SHOULD ATTEMPT TO WIRE THIS SYS-
TEM.
• Do not supply power to the unit until all wiring and tubing are completed or reconnected
and checked.
• Highly dangerous electrical voltages are used in this system. Carefully refer to the wir-
ing diagram and these instructions when wiring. Improper connections and inadequate
grounding (earthing) can cause accidental injury or death.
• Ground (earth) the unit following local electrical codes.
• Connect all wiring tightly. Loose wiring may cause overheating at connection points and
a possible fire hazard.
When Transporting
Be careful when picking up and moving the indoor and outdoor units. Get a partner to
help, and bend your knees when lifting to reduce strain on your back. Sharp edges or thin
aluminum fins on the air conditioner can cut your fingers.
When Installing...
...In a Ceiling or Wall
Make sure the ceiling/wall is strong enough to hold the unit's weight. It may be necessary
to construct a strong wood or metal frame to provide added support
...In a Room
Properly insulate any tubing run inside a room to prevent "sweating" that can cause drip-
ping and water damage to walls and floors.
...In Moist or Uneven Locations
Use a raised concrete pad or concrete blocks to provide a solid, level foundation for the
outdoor unit. This prevents water damage and abnormal vibration.
...In an Area with High Winds
Securely anchor the outdoor unit down with bolts and a metal frame.
Provide a suitable air baffle.
...In a Snowy Area (for Heat Pump-type Systems)
Install the outdoor unit on a raised platform that is higher than drifting snow.
PART No. 9379113069-02
For authorized service personnel only.
.
En-1
