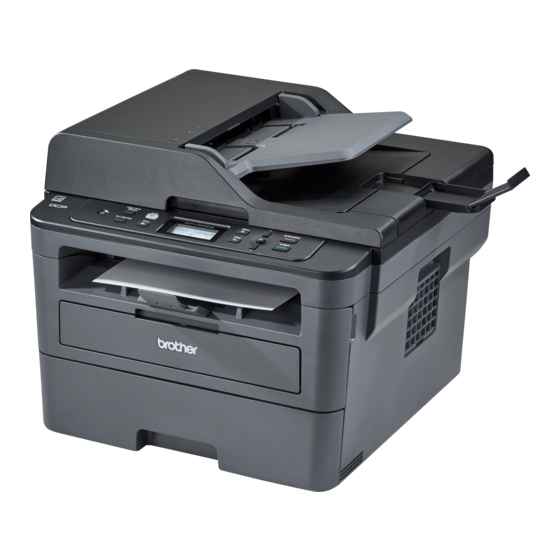
MFC-L2750DWXL / MFC-L2750DW / MFC-L2730DW /
HL-L2395DW
Quick Setup Guide
Unpack the machine and check the components
Drum Unit and Toner Cartridge
Watch our Video FAQs for
help with setting up your
Brother machine:
support.brother.com/videos.
1
Remove the packing materials and install the drum unit and toner cartridge assembly
2
Load paper in the paper tray
3
Connect the power cord and turn on the machine
Back
Connect the telephone line cord
5
(for MFC models only)
If you do not plan to use the fax feature on this machine,
go to step
.
Toner Cartridge Replacement
(For MFC-L2750DWXL model)
Use the toner cartridge that is pre-installed
Telephone Line Cord
(For MFC models)
Product Safety Guide
Brother Installation Disc
Front
Read the Product Safety Guide first, then read this Quick
Setup Guide for the correct installation procedure.
Not all models are available in all countries.
The latest manuals are available at the Brother Solutions
Center: support.brother.com/manuals.
NOTE:
• Manuals in Spanish for this model are available on the Brother Solutions Center. (USA only):
support.brother.com/manuals
Los manuales en español de este modelo están disponibles en el Brother Solutions Center.
(Solamente en los Estados Unidos): support.brother.com/manuals
• The components included in the box may differ depending on your country.
• The available connection interfaces vary depending on the model.
• Interface cables are not included. You must purchase the correct interface cable if you require
one.
in the drum unit first.
• The illustrations in this Quick Setup Guide show the MFC-L2750DW.
Quick Setup Guide
1
2
1
Remove the orange part.
Do not exceed this mark.
Adjust the paper
guides.
4
Select your language (if needed)
1.
2.
3.
Configure the machine for faxing (for MFC models only)
6
If you do not plan to use the fax feature on this machine, go to step
NOTE:
• For more information on using the fax feature, see the Online User's Guide.
• Your machine is programmed to automatically receive faxes. To change this default mode, see the Online User's Guide.
A. Set the date and time
Press
[Settings] > [All Settings] >
[Initial Setup] > [Date & Time], and
then set the date and time.
USB cable
We recommend using a USB 2.0 cable (Type A/B) that is no more than 6 feet (2 meters)
long.
Network cable
Use a straight-through Category 5 (or greater) twisted-pair cable.
Push firmly.
On the machine's touchscreen,
press
[Settings] >
[All Settings] >
[Initial Setup] >
[Local Language].
Press your language.
Press
.
.
B. Set the Station ID
Press
[Settings] > [All Settings] >
[Initial Setup] > [Station ID], and then
set your fax or telephone number and your name.
D01GTB001-00
USA/CAN
Version B

