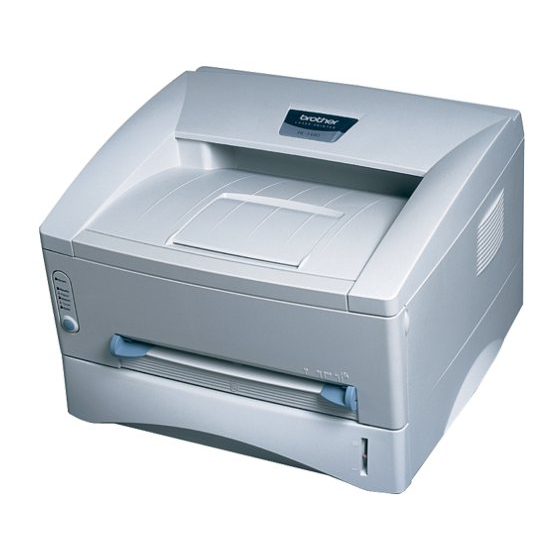
プリンター Brother HL-1240のPDF テクニカル・インストラクションをオンラインで閲覧またはダウンロードできます。Brother HL-1240 4 ページ。 Imprimante laser
Brother HL-1240 にも: 取扱説明書 (12 ページ), クイック・セットアップ・マニュアル (16 ページ), 部品リファレンスリスト (25 ページ), サービスマニュアル (8 ページ), クイック・セットアップ・マニュアル (16 ページ), (フランス語) ラピッド設定マニュアル (16 ページ)

BR1240TECHDRUM
Technical Instructions
CORPORATE
LOS ANGELES, USA
US 1 800 394.9900
Int'l +1 818 837.8100
FAX 1 800 394.9910
Int'l +1 818 838.7047
ATLANTA, USA
US 1 877 676.4223
Int'l +1 770 516.9488
FAX 1 877 337.7976
Int'l +1 770 516.7794
DALLAS, USA
US 1 877 499.4989
Int'l +1 972 840.4989
FAX 1 877 774.1750
Int'l +1 972 840.1750
MIAMI, USA
US 1 800 595.429
Int'l +1 305 594.3396
FAX 1 800 522.8640
Int'l +1 305 594.3309
NEW YORK, USA
US 1 800 431.7884
Int'l +1 631 345.0121
FAX 1 800 431.8812
Int'l +1 631345.0690
SANFORD,USA
US 1 800 786.9049
Int'l +1 919 775.4584
FAX 1 800 786.9049
Int'l +1 919 775.4584
TORONTO, CAN
CAN 1 877 848.0818
Int'l +1 905 712.9501
FAX 1 877 772.6773
Int'l +1 905 712.9502
BUENOS AIRES, ARG
ARG 0810 444.2656
Int'l +011 4583.5900
FAX +011 4584.3100
MELBOURNE, AUS
AUS 1 800 003. 100
Int'l +62 03 9561.8102
FAX 1 800 004.302
Int'l +62 03 9561-7751
SYDNEY, AUS
AUS 1 800 003.100
Int'l +62 02 9648.2630
FAX 1800 004.302
Int'l +62 02 9548.2635
MONTEVIDEO,URY
URY 02 902.7206
Int'l +5982 900.8358
FAX +5982 908.3816
JOHANNESBURG, S.A.
S.A. +27 11 974.6155
FAX +27 11 974.3593
E-mail: [email protected]
Printers
Brother HL-1240/1440/1450/
1470N/P2500 MFP
Intellifax 4750/5750/8350P/
8750P
MFC-2500/8300/8500/8600/
8700/8750P/8750P-NLT/
9600/9650/9650N/9660/
9660N/9750/9750LT/9850/
9870/9870LT/9870NLT/9880/
9880N/P2500
PB1630/PPF4650/PPF5750
Photo 1
Photo 2
Photo 3a
Photo 3b
Other Technical Instruction Guides available for this engine:
Brother HL-1240 Toner Cartridge Reman. Instructions . . . . . . . . . . . . . . . . . . . . . . . . . . . . . . . BR1240TECHTONER
OEM Info
Part Number: DR400
Yield: 20,000 pgs
Step 1
Using a Phillips screwdriver remove the
two screws located on the top of the
drum unit.
(See Photo 1)
Step 2
The corona wire assembly is held to the
drum unit by four clips; One on each side
of the drum unit and two on the back.
(See Photo 2)
Step 3
Using a small flat blade screwdriver
release the four clips and lift the corona
wire assembly away from the drum unit.
(See Photo 3a and 3b)
Website:
Tools
Phillips Screwdriver
Small Flat Blade Screwdriver
Soft Lint-Free Cloth
Cotton Swabs
Anhydrous Isopropyl Alcohol
www.futuregraphicsllc.com
1
