- ページ 5
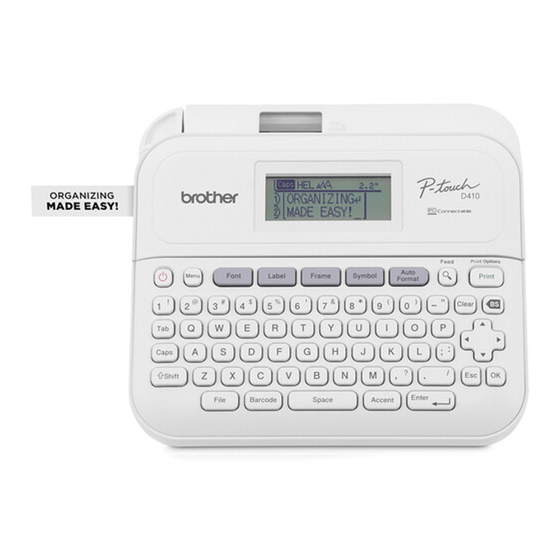
ラベルメーカー Brother P-touch PT-D410のPDF マニュアルをオンラインで閲覧またはダウンロードできます。Brother P-touch PT-D410 8 ページ。
Brother P-touch PT-D410 にも: クイック・スタート・マニュアル (9 ページ)

Basic Operations
support.brother.com/manuals
Initial Settings
Language
Set your text entry language.
Settings
/
[Language]
Select a language
Unit
Set the unit for various types of
Settings
adjustments.
/
[Unit]
[inch] / [mm]
LCD
Adjust the LCD contrast to make it easier
Contrast
to read.
/
[Adjustment]
[LCD Contrast]
[-2] to [+2]
/
Enter Text
Press
to start a new line.
New Line
Maximum number of lines for each
tape width:
18 mm: five lines
12 mm: three lines
9 mm, 6 mm: two lines
3.5 mm: one line
Block
Use this feature to include multiple
lines or font sizes on a single label.
+
Maximum: five blocks
Delete Text
Delete text and formatting.
and Format
or
Delete one character at a time
Delete all characters
[Text Only]
Delete all text and formatting.
[Text & Format]
Tab
Insert a tab.
Maximum length: 100 mm
+
Tab Length
Set the tab length.
[Tab Length]
Select a value
Upper-
Switch between upper-case and
Case
lower-case characters.
Lower-
Case
Enter Text (cont.)
Label
Length
/
/
Symbol
Characters
/
/
Accented
Characters
/
Frame
Change Font
Change
Font
Change
Font Line
+
/
By Line
/
Auto Fit
Style
/
Set the label length you want.
[Auto]: Automatically adjusts the label
length to the length of the text.
[Length]
[Auto] / Set
a value
/
Inserts symbols, units, and pictures.
Select a category
/
Select a symbol
Select an entered character and convert it
to an accented character.
Enter characters
Select an accent
/
Add a decorative frame to your label.
/
Select a frame
category
/
Select
a frame
/
Change the label font, size, width, style,
and alignment.
/
Select a font
type
[Size]
Select the font
height
[Width]
Select the
font width
[Style]
Select the
font style
[Align]
Select the
font alignment
/
Change the line font, size, width, style,
and alignment.
Move the cursor to the line you want to
change
+
[Font]
Select a font type
[Size]
Select the font height
[Width]
Select the font width
[Style]
Select the font style
[Align]
Select the font alignment
/
Automatically adjust the text size to fit the
label length.
[Text Size]: Adjust to the length of the label
[Text Width]: Adjust by condensing the
character width by half
/
[Auto Fit Style]
/
[Text Size] / [Text Width]
/
Set Margins
Set
Set the margins before and after an
Margins
entered character.
[Small Margin]: Insert a margin of approx.
23 mm before the first label only, and
then insert margins of 2 mm between the
subsequent labels.
[Large Margin]: Insert an initial margin of
approx. 25 mm on each edge.
[Chain]: Print multiple labels with minimal
margins. Insert a margin of approx. 23 mm
/
before the first label only, and then insert
margins of 2 mm between the subsequent
labels.
[No Cut]: Print multi-part labels or use special
tape, and then cut the labels manually.
[Special Tape]: Use this setting when
printing on special tape.
the margin type
Set Auto Format Layouts
Template
Use your favourite designs as templates.
Select a template category
type
/
Block
Use block layout patterns as templates.
Layout
Select the tape width
Select a block layout
[Font]
[Align]
[Right] / [Just]
[On] / [Off]
/
Print Labels
Preview
Use this feature to check the final design
before printing.
Print
Start printing.
When printing a single label:
When printing multiple labels:
/
[Cut Option]
Select
/
[Templates]
/
/
Select a template
/
[Font]
Select a font
[Style]
Select a style
Enter text
/
[Block Layouts]
/
/
/
Select a font type
[Left] / [Center] /
[Frame]
/
Enter text
/
/
Select a print quantity
/
