- ページ 5
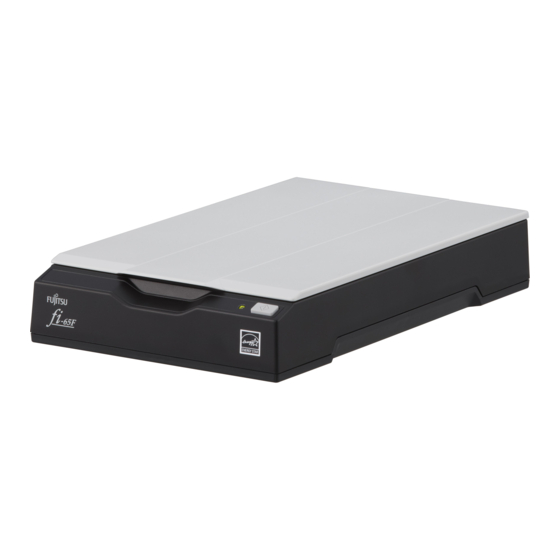
スキャナー Fujitsu fi-65FのPDF スタートマニュアルをオンラインで閲覧またはダウンロードできます。Fujitsu fi-65F 6 ページ。 Image scanner
Fujitsu fi-65F にも: はじめに (7 ページ)
3.
Connect the power cable or USB bus
power cable.
For the power cable connection
The AC cable and AC adapter connected to
each other are collectively called the "power
cable".
Connect the power cable to the power
connector of the scanner, and plug the other
end into an AC outlet.
For the USB bus power cable
Connect the USB bus power cable to the
power connector of the scanner and to the
USB port of the computer.
WARNING
Only use the power cable or USB bus
power cable that is supplied with the
scanner.
Doing the following may cause an electric
shock or the scanner to malfunction:
Using a power cable or USB bus power
cable that is not supplied with the
scanner.
Using the supplied power cable or USB
bus power cable with other products.
Test-Scan
Follow the procedure described below to check
that documents can be scanned correctly by using
PaperStream Capture and the PaperStream IP
(TWAIN) driver.
1.
Turn on the computer.
The scanner is turned on, and the power
LED lights in green.
ATTENTION
If the power LED does not light in green,
refer to "Chapter 6 Troubleshooting" in the
Operator's Guide.
The scanner is automatically recognized
by the computer.
Power LED
5
HINT
When the [Found New Hardware] dialog
box appears, click [Locate and install driver
software (recommended)] and then follow
the instructions on the screen to proceed
with the installation.
2.
Place a document on the scanner.
1. Open the document cover.
2. Place the document on the document bed.
Place the document face-down to align its
top left-hand corner with the reference point.
Reference point
3. Gently close the document cover.
Document cover
ABC
Document bed
Document
cover