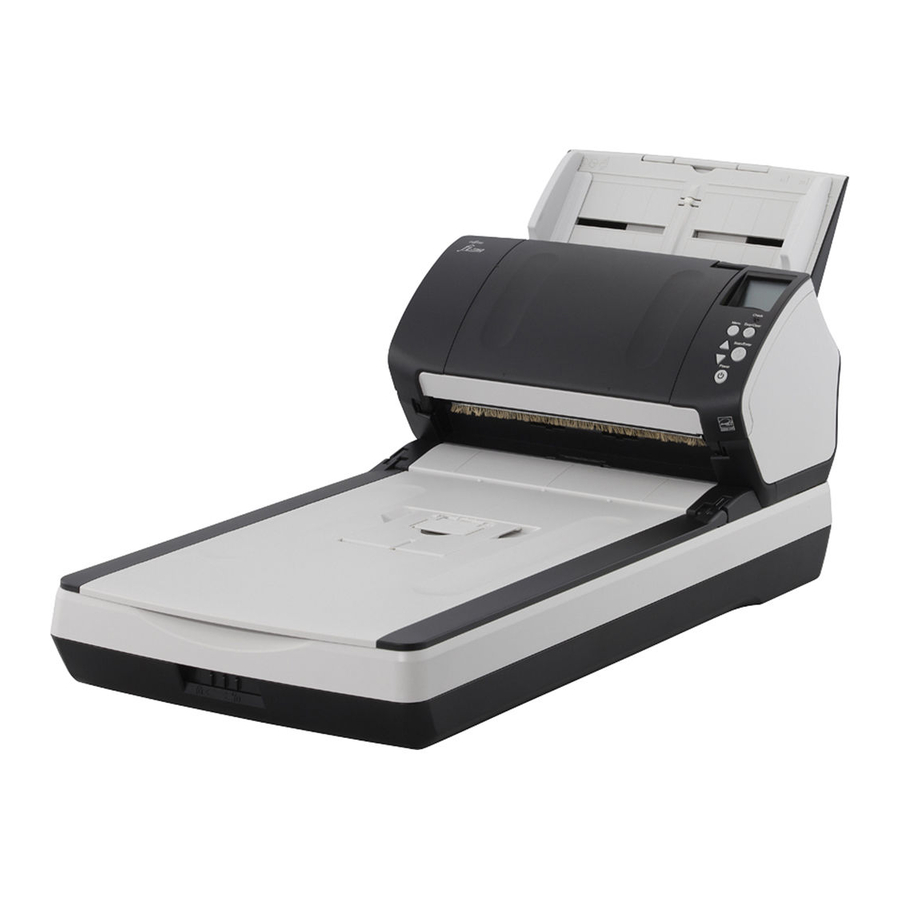
- ページ 5
スキャナー Fujitsu fi-7160のPDF はじめにをオンラインで閲覧またはダウンロードできます。Fujitsu fi-7160 9 ページ。 Image scanner
Fujitsu fi-7160 にも: スタートマニュアル (8 ページ)

fi-7260/fi-7280
Outer dimensions
Installation space
300
400
(11.81)
(15.75)
2.
Unlock the transport lock switch.
For fi-7260/fi-7280, there is a carrier unit
inside the flatbed which is fixed in place to
prevent damage during transportation.
Slide the transport lock switch on the front.
Locked
3.
Attach the ADF paper chute (Feeder).
Insert the tabs into the slots on the back of
the scanner in the direction indicated by the
arrow
1
, and tilt the ADF paper chute
backwards in the direction indicated by the
arrow
until it locks in place.
2
Tab
ATTENTION
Insert the ADF paper chute (Feeder) firmly
so that there is no space between the
scanner.
450
(17.72)
234
(9.21)
450
(17.72)
577(22.72)
800(31.50)
Unit: mm (in.)
Unlocked
Transport lock switch
ADF paper chute
(Feeder)
Side guides
Connecting the Cables
Connect each cable in the following procedure.
4
2
USB connector
USB cable
CAUTION
Only use the supplied AC adapter. Not doing
so may cause the scanner to malfunction.
Furthermore, do not use the supplied AC
adaptor for other products.
1.
Confirm that the computer is turned off.
2.
Connect the USB cable to the USB
connector of the scanner and USB port of
the computer.
ATTENTION
Use the supplied USB cable.
If you connect the scanner with USB 3.0/
2.0, it is required that the USB port and
the hub be compliant with USB 3.0/2.0.
The scanning speed slows down when
you connect the scanner with USB 1.1.
Connect it with
the USB mark
facing up.
5
AC cable
Power connector
4
AC adapter
3
2
USB mark
1
