- ページ 3

プリントサーバー Brother Business Smart MFC-J4510dwのPDF クイック・セットアップ・マニュアルをオンラインで閲覧またはダウンロードできます。Brother Business Smart MFC-J4510dw 47 ページ。 Quick setup guide - spanish
Brother Business Smart MFC-J4510dw にも: マニュアル (36 ページ), マニュアル (22 ページ), 製品安全マニュアル (17 ページ), マニュアル (13 ページ), マニュアル (22 ページ), クイック・セットアップ・マニュアル (47 ページ), マニュアル (18 ページ), クイック・セットアップ・マニュアル (47 ページ), パンフレット&スペック (4 ページ), 製品安全マニュアル (20 ページ), 仕様 (2 ページ), クイック・スタート・マニュアル (29 ページ), 製品安全マニュアル (25 ページ), (スペイン語)ウェブ・コネクト・マニュアル (38 ページ), (スペイン語)マニュアル (24 ページ), (製品安全ガイドマニュアル (16 ページ), (スペイン語)マニュアル (11 ページ), (クイック設定ガイド (47 ページ)
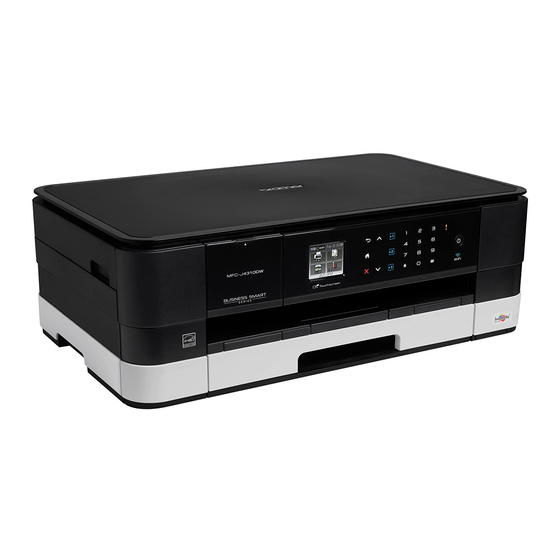
Brother Business Smart MFC-J4510dw クイック・セットアップ・マニュアル
e
Gently put the paper into the paper tray print
side down and top edge first.
IMPORTANT
Be careful that you do not push the paper in too
far; it may lift at the back of the tray and cause
paper feed problems.
f
Gently adjust the paper guides to fit the paper.
Make sure that the paper guides touch the
edges of the paper.
g
Check that the paper is flat in the tray and
below the maximum paper mark a. Close the
output paper tray cover.
h
i
NOTE
For printing and copying on special media, open
the manual feed slot a on the back of the
machine. Feed only one sheet at a time of A3,
Ledger, Legal, envelopes, or thicker paper when
using the manual feed slot.
For details, see Loading paper in the manual feed
slot in chapter 2 of the Basic User's Guide.
1
Slowly push the paper tray completely into the
machine.
While holding the paper tray in place, pull out
the paper support a until it clicks, and then
unfold the paper support flap b.
2
1
1
3